How to Configure Button Actions in the Evolved Office Email Editor (Links, Email, Call & More)
Buttons in the Evolved Office Email Editor can do more than just link to a webpage. You can set them to perform specific actions such as opening a website, sending an email, making a call, or inserting placeholders. This guide walks you through how to use the Action dropdown and its available options.
Where to Find the Button Action Settings
- Click on the spaces around the button inside your email template.
- On the left-side settings panel, look for the section labeled Action.
- Click the dropdown menu to view all available action types.
Available Button Actions
Below are the four button action types available in the Evolved Office Email Editor. Here’s what each action type does and how to configure them.
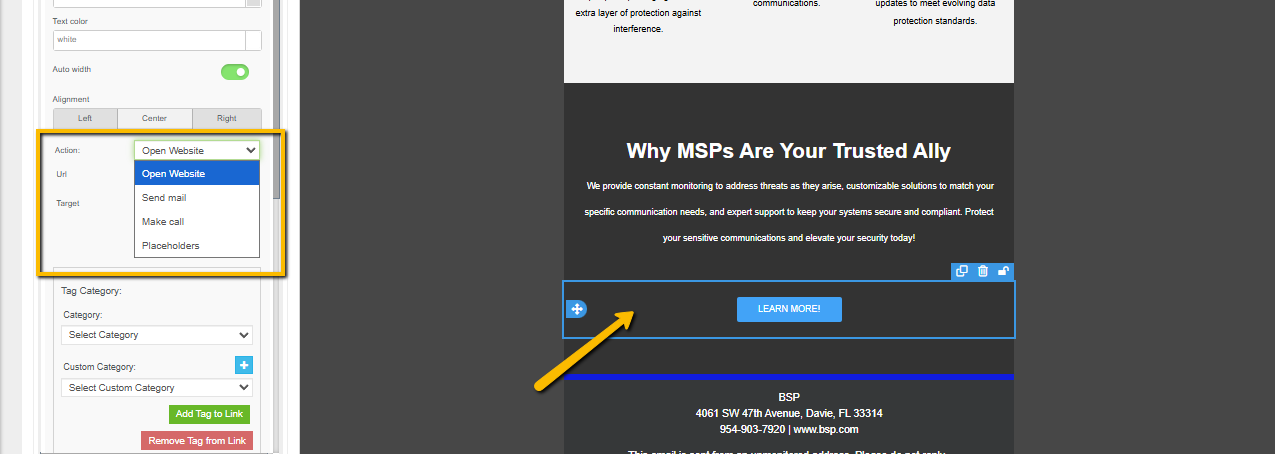
1. Open Website
Use this action when you want the button to redirect recipients to a webpage.
Fields available:
- URL – Add the destination link (e.g., https://www.google.com)
- Target – Choose whether the link opens in the same window or a new tab.
How to use:
- Select Open Website from the Action dropdown.
- Enter the website link under URL.
- Choose a window option under Target.
This is ideal for CTAs such as Learn More, Visit Website, Register Now, or Download.
** Use this when you want the button to redirect contacts to a webpage.

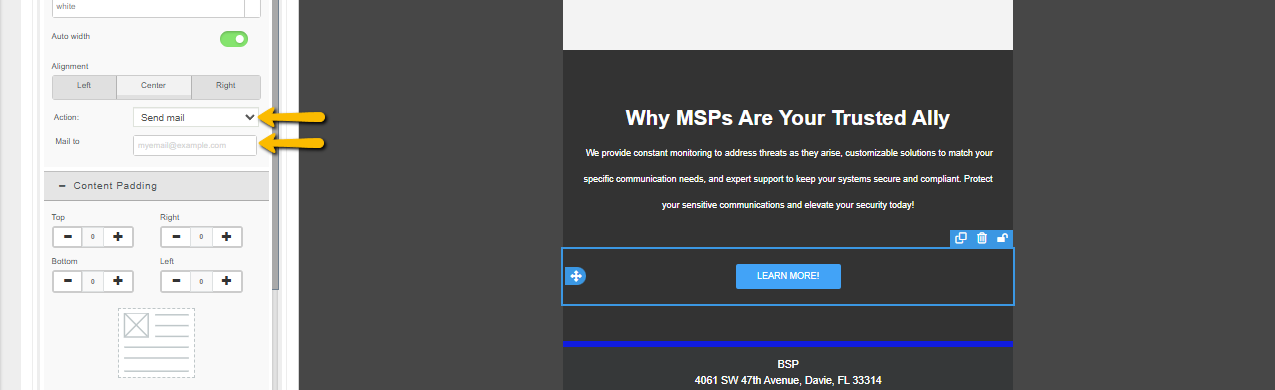
2. Send Mail
You can use Send Mail when you want replies to go to a different email address than the one used to send the campaign. This is helpful when another team member, department, or support inbox should receive the responses.
Important:
- Only the Mail to field is available.
- Subject and Message fields do NOT exist for the Send Mail option.
- The recipient will see a blank email body and subject line when they click the button.
How to use:
- Select Send Mail from the Action dropdown.
- Enter the destination email in the Mail to field.
This action is ideal for simple “Email Us” or “Contact Support” buttons.
** This action opens the contact's email client.
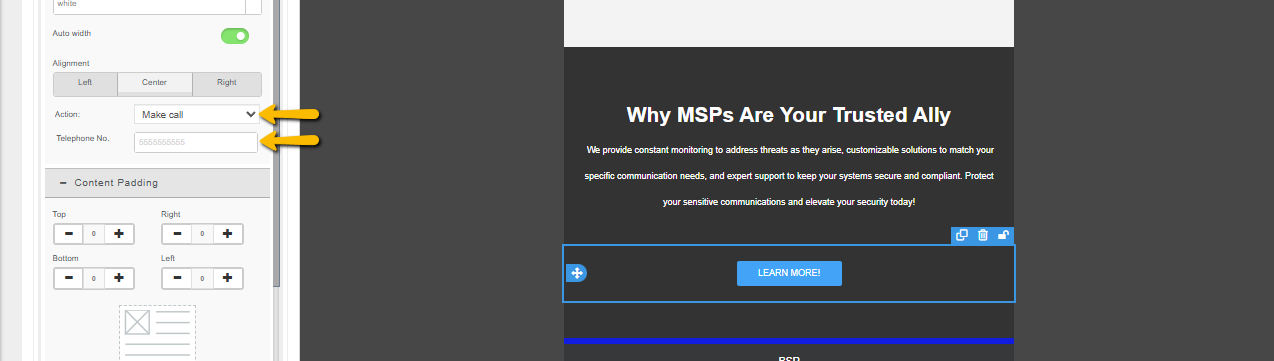
3. Make Call
This action allows the button to trigger a phone call (mainly on mobile devices).
Fields available:
- Telephone No. – Enter the number the device should call.
How to use:
- Select Make call from the Action dropdown.
- Enter a valid phone number.
This is useful for CTAs like:
- Call Us Now
- Book by Phone
- Speak With a Specialist
** This allows the button to trigger a phone call on mobile devices.
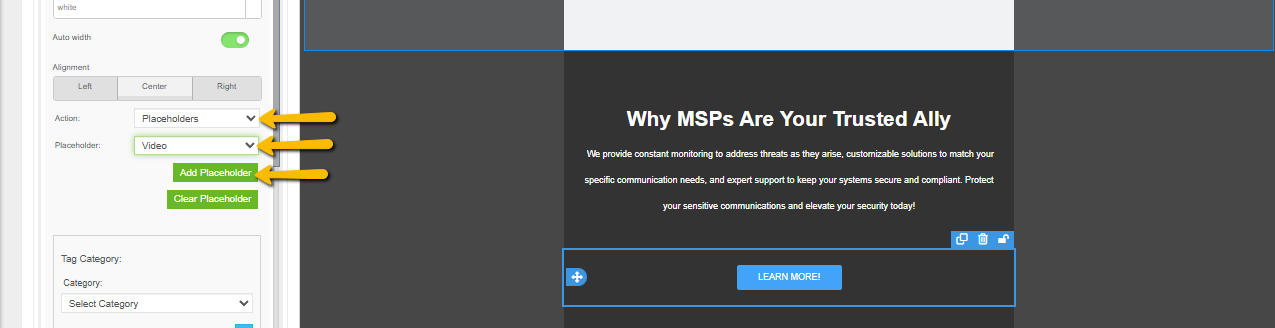
4. Placeholders
Placeholders are dynamic markers that represent information the system will insert automatically when the button is used. They function like variables—standing in for specific data such as email details, meeting links, or video resources.
Rather than inserting static text, a placeholder tells the system what type of information to prepare. When selected, each placeholder type opens only the fields relevant to that content.
How Placeholders Work
- They act as smart fields that pull information from saved settings or user input.
- They adapt based on the placeholder type you select.
- They ensure consistent, personalized, and context‑appropriate content.
- They reduce manual work by automating the insertion of commonly used data.
When selecting Placeholders, you can choose from options like:
- Rep Meeting
- Video
Each placeholder automatically inserts the associated saved information from your Company Info settings.
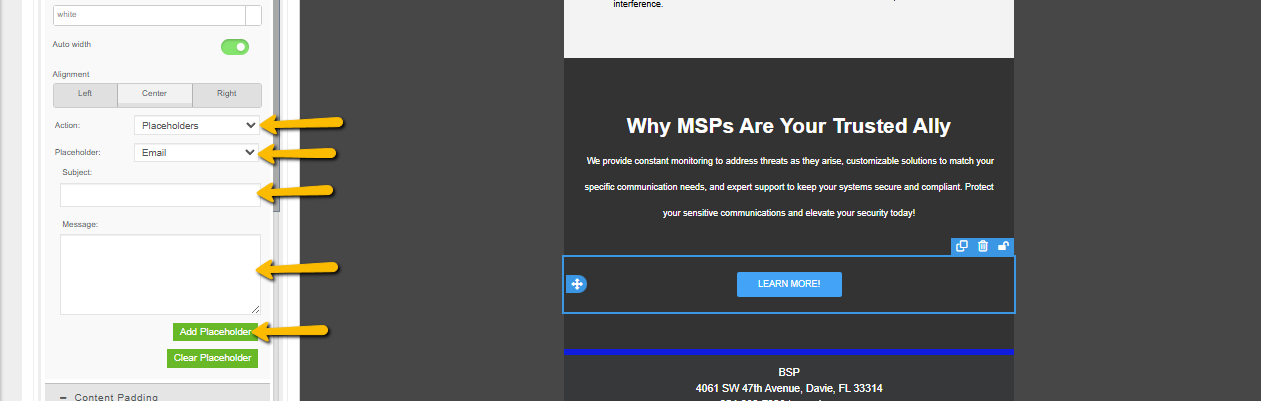
Email Placeholder
Choosing Email under the Placeholders action does not insert a predefined subject or message template.
Instead, it simply enables the fields so the user can manually input:
- A custom Subject
- A custom Message
Nothing is auto-filled. The user has full control over what they type.
Once the user enters their desired subject and message, they may click:
- Add Placeholder → to save the placeholder to the button action
- Clear Placeholder → to remove whatever they entered
This makes the Email Placeholder flexible since the message is fully customizable.
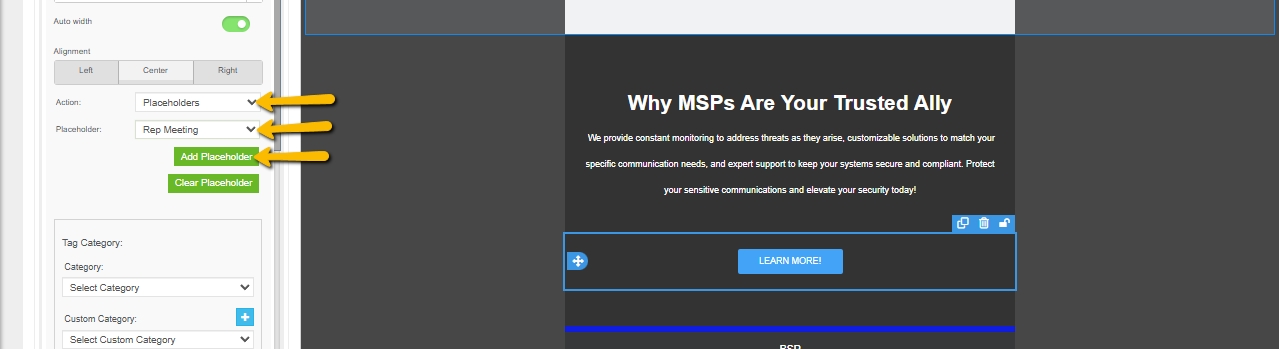
Rep Meeting Placeholder
If the user selects Rep Meeting, the system will automatically pull the meeting link saved under: Settings → Company Info → Administrator Details → Meeting Link.
If a meeting link is saved there, it will automatically populate inside the placeholder when selected.
How to use:
- Choose Placeholders from the Action dropdown.
- Select Rep Meeting.
The system pulls the saved "Meeting Link" from your Company Info.
- Click Add Placeholder to insert it.
- Use Clear Placeholder to remove any placeholder if needed.
This allows users to add consistent, rep‑specific meeting links without retyping or manually copying them.
Video Placeholder
The Video placeholder provides fields for video‑related content, depending on your setup.
Key points:
- It may allow you to insert or reference a video link or embed.
- Fields shown depend on your EO configuration.
When to use it: Use the Video placeholder when your button action involves video content—such as linking to a hosted video, a walkthrough, or a product demo.