
How to Schedule Social Media Posts Using eoSocial
In this guide, we'll walk you through the steps to schedule social media posts using the eoSocial feature in Evolved Office.
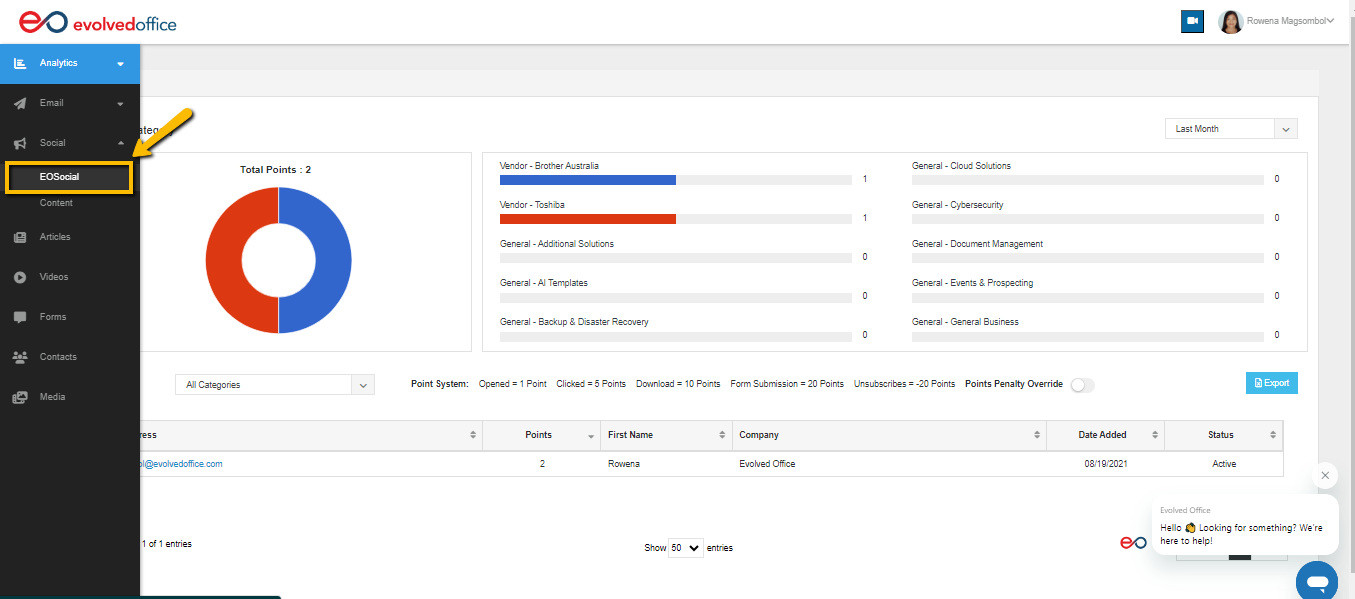
Step 1: Log into Your Account
- Navigate eoSocial on the left menu bar.
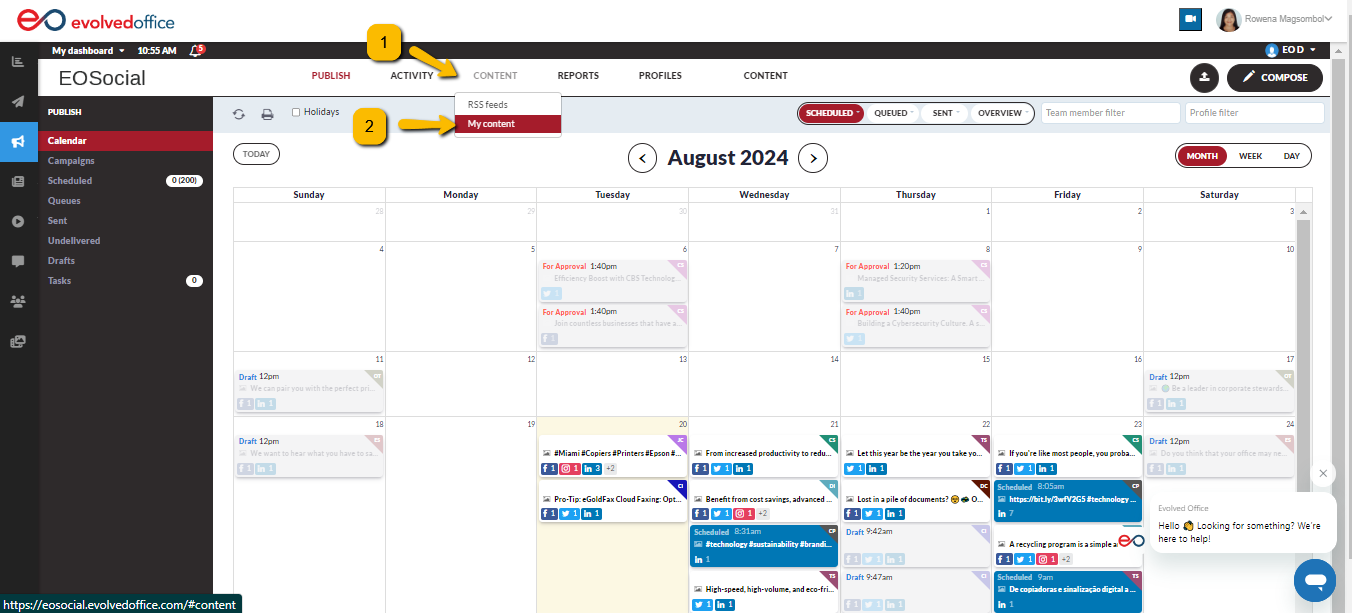
Step 2: Navigate to 'My Content'
- Hover over the 'Content' tab in the main menu.
- Select 'My Content' from the dropdown menu.
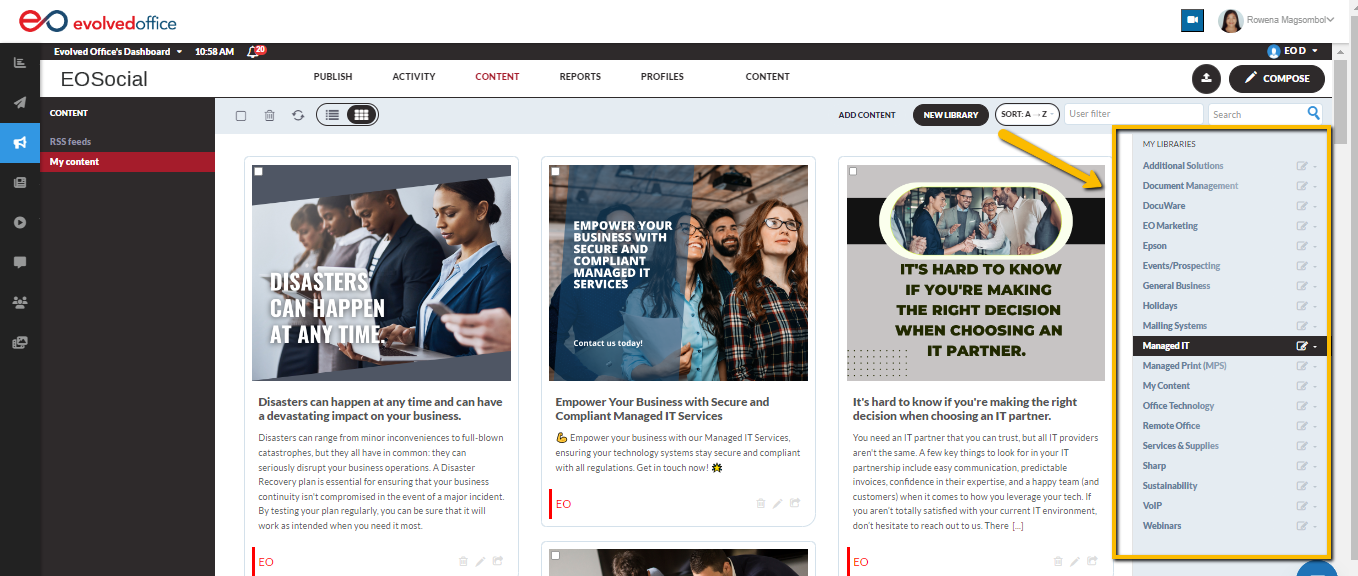
Step 3: Access Content Libraries
- You'll find available content libraries in this section.
- If you want to use Managed IT content, for example, click on the corresponding library.
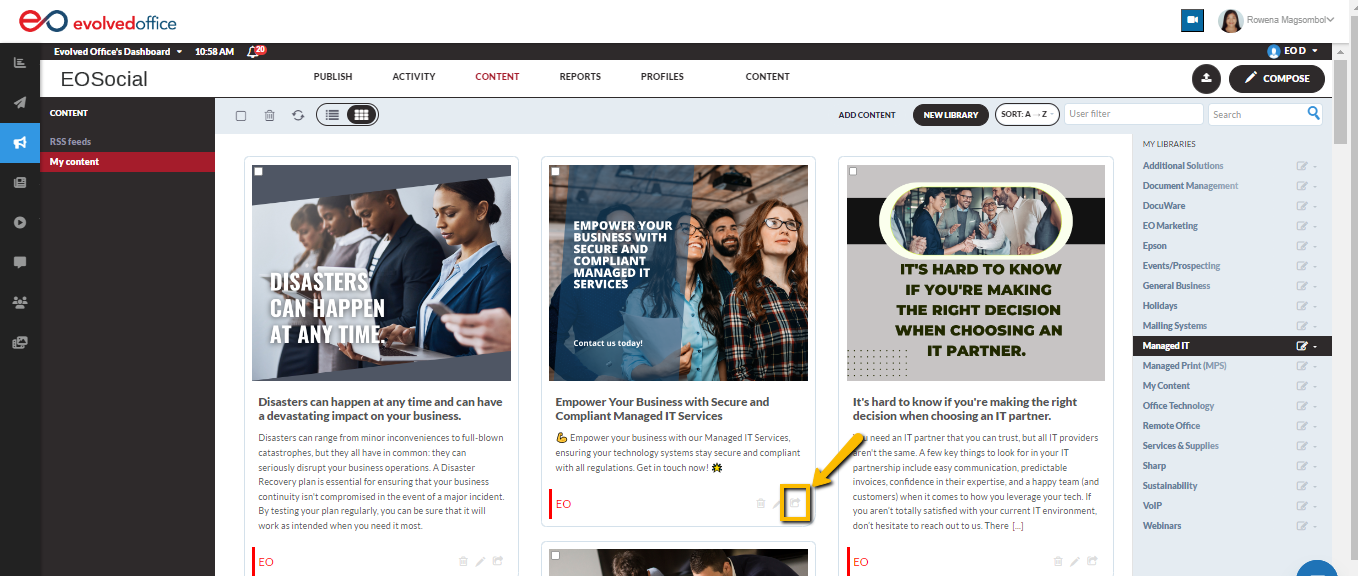
Step 4: Share or Schedule Content
- Inside the selected library, you'll see content that you can instantly share with your social media profiles.
- To share content:
- Click on the share icon located in the lower right corner of each item.
- A pop-up window will appear; click 'Yes' to confirm.
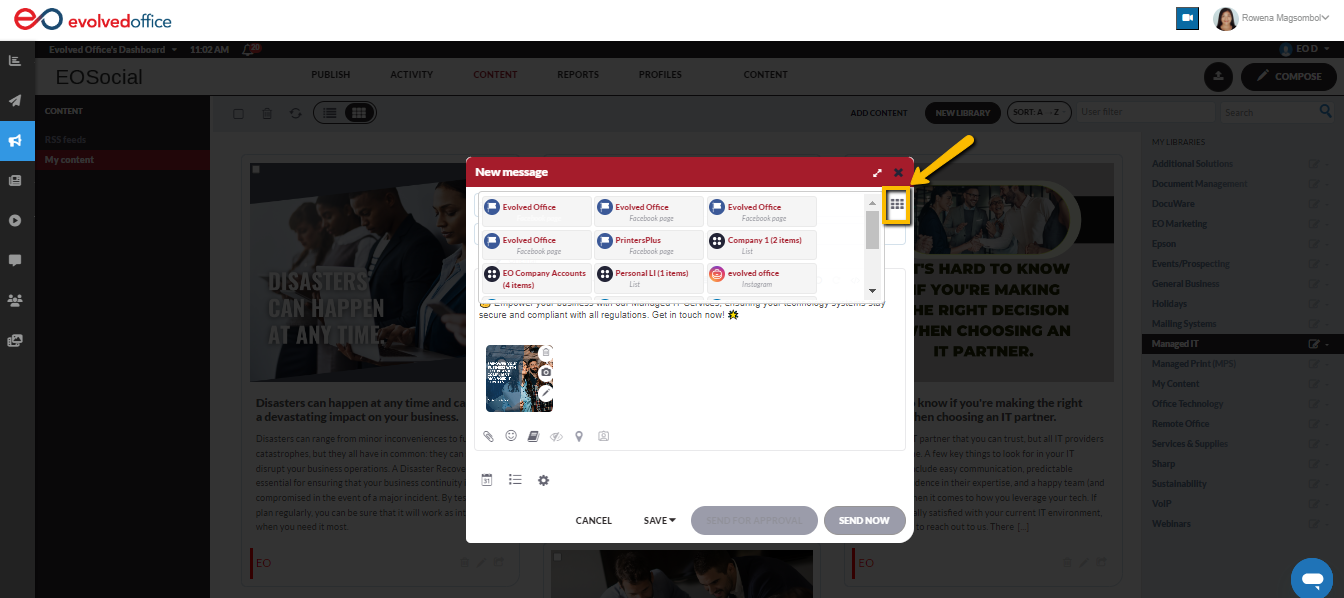
- Select the profiles you want to share the content with by clicking the dots and choosing the profiles.
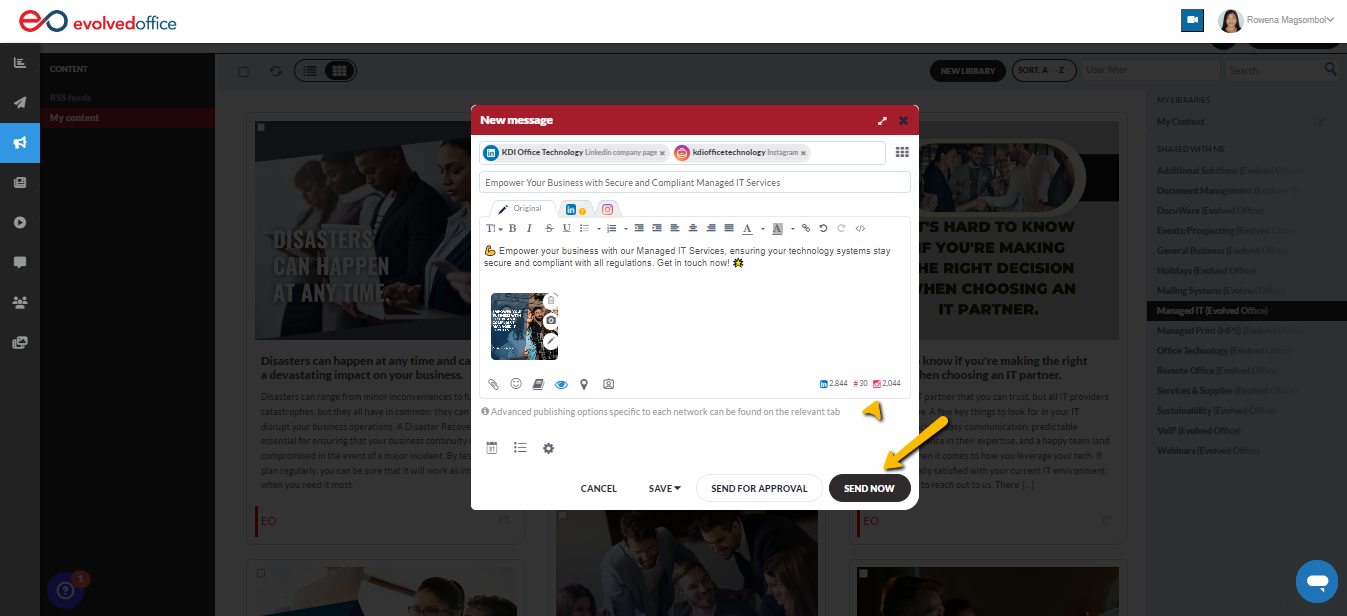
- You can edit the text and change the image if necessary.
- Click on the share icon located in the lower right corner of each item.
- If you're ready to publish the content immediately, click 'Send Now.'
- The content will be published immediately.
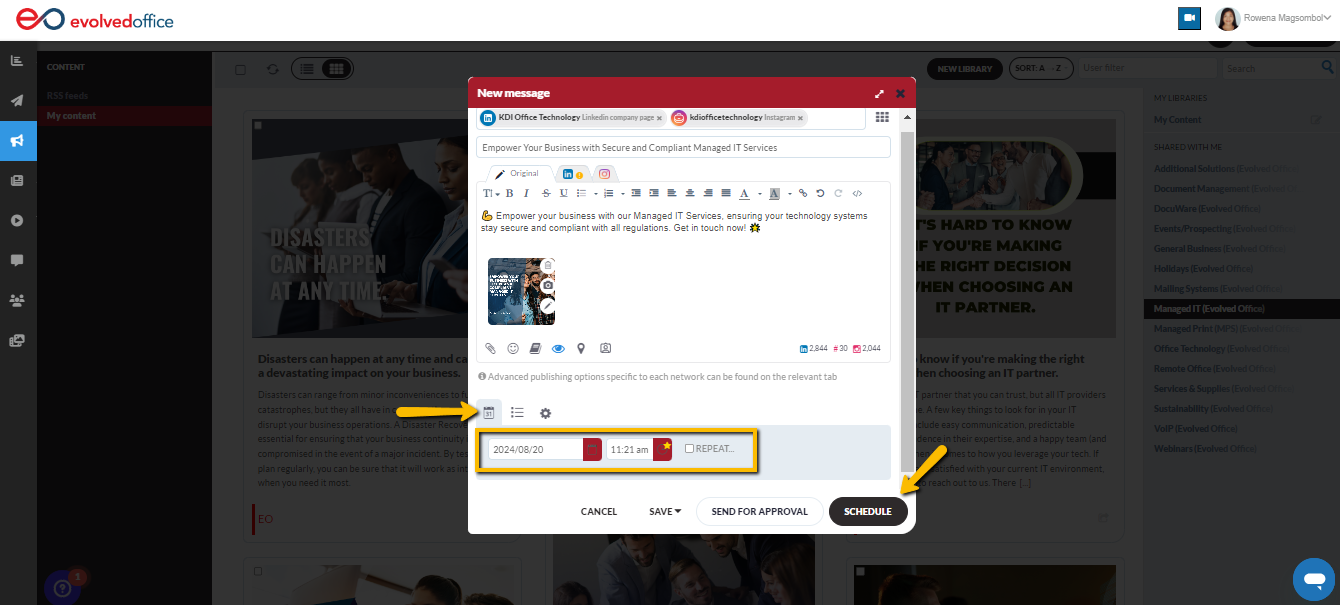
- Alternatively, if you want to schedule the post:
- Click on the calendar icon to choose the desired date and time.
- Finally, hit 'Schedule' to confirm.
- The content will be published immediately.
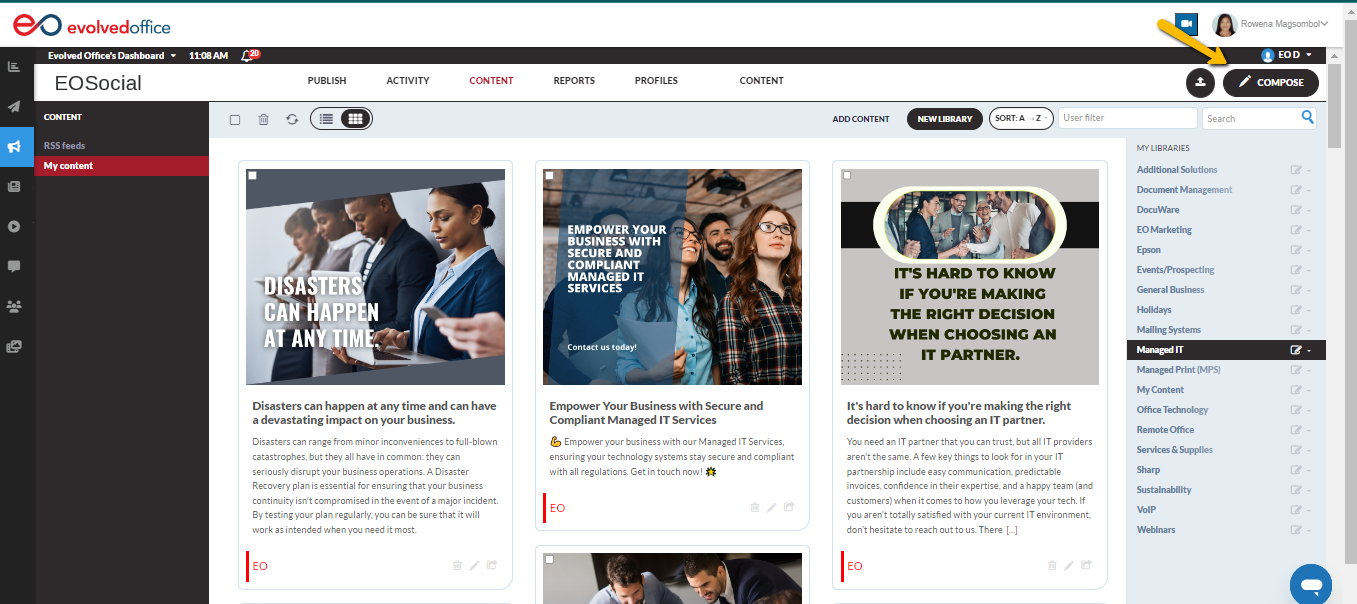
Compose a New Post from Scratch
- To create your own content, navigate to the compose box located in the upper right corner.|
- Compose your post by adding your text, images, and any other media.
- Select the profiles you want to share the content with by clicking the dots and choosing the profiles.
- Once your post is ready, you can either send it immediately or schedule it for a later date using the calendar icon.
Tips: It’s recommended to schedule your social media content for the entire month at once to save time and ensure consistent posting.