How to Add a User to Your Account
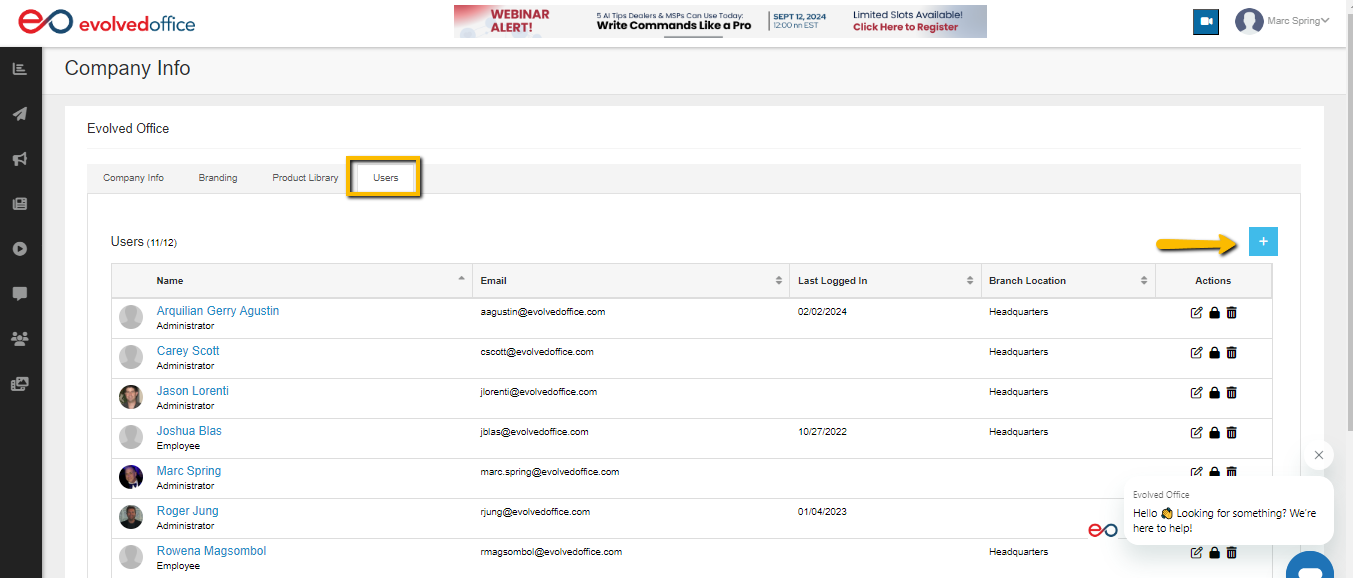
- Using the dropdown menu next to your name at the top right of any page select ‘Settings’.
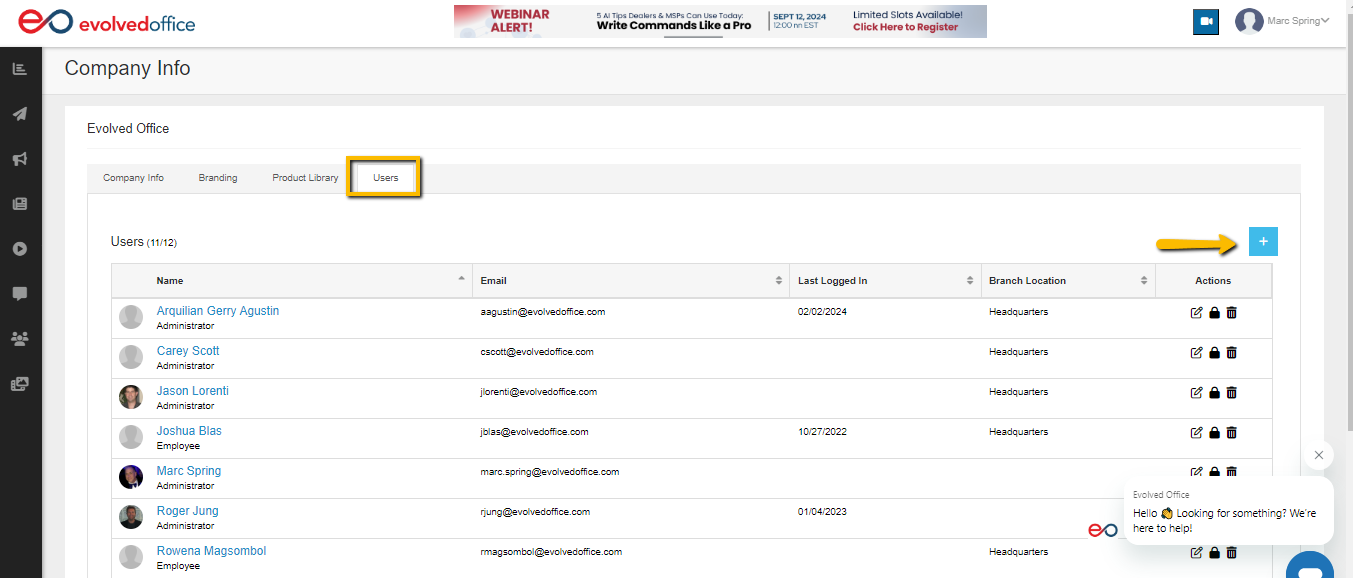
- From the Users tab, click the blue "+" add a user.
- Fill in the User Details:
- Enter the following details in the respective fields:
- Name: Input the user’s full name.
- Type: Select the user type from the dropdown.
- Title: Provide the user’s job title.
- Phone: Add a contact number.
- Email: Enter the user’s email address.
- Username: Assign a unique username.
- Enter the following details in the respective fields:
- Upload a Profile Image (Optional):
- Click the Upload button below the placeholder image to add a profile picture for the user.
- Select Branch Location:
- In the Branch Location section:
- Use the dropdown menu to select the appropriate branch.
- It will automatically fill in the City, State, Zip Code, Country, and Time Zone fields as applicable.
- In the Branch Location section:
- Add Social Media Links (Optional):
- Input the URLs for the user’s social media accounts, such as Facebook, LinkedIn, or Instagram, in the corresponding fields.
- Set Permissions:
- In the User Permission section, assign appropriate permissions by checking the relevant boxes:
- Allow the user to create their own content.
- Allow the user to edit content.
- Enable the user to upload email lists.
- Grant access to the Digital Hub, if needed.
- In the User Permission section, assign appropriate permissions by checking the relevant boxes:
- Enable Platform Features:
- Under the Platform Feature Access section, select the features the user can access by checking the relevant boxes, including:
- Asset Manager
- Contacts
- Dashboard
- eoScribe AI (BETA)
- Forms
- Reports, etc.
- Under the Platform Feature Access section, select the features the user can access by checking the relevant boxes, including:
- Assign Content Access:
- In the Content Access section, specify the content categories the user can manage.
- Integrate Platform Tools (Optional):
- Enable integrations as needed by selecting options like Agent Dealer, Compass, Sales Chain, or Salesforce.
- Save Changes:
- After completing all the necessary fields and selections, click the Save button at the bottom-right corner of the form to finalize the setup.
- Verify the User Setup:
- Confirm that the user has been added successfully by reviewing the updated user list.
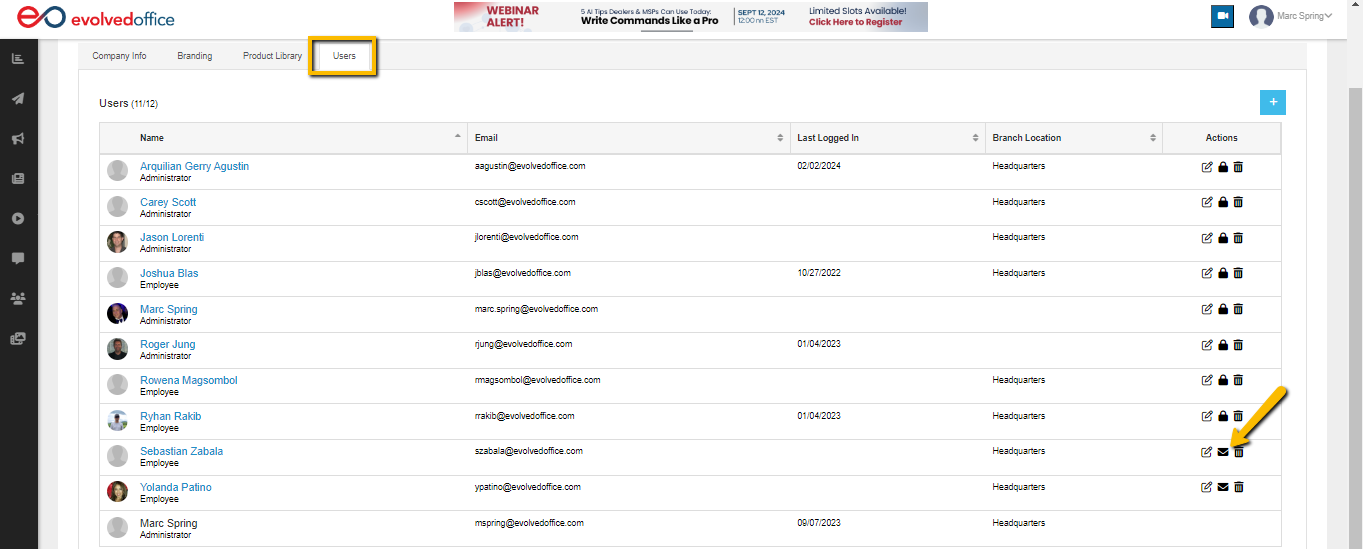
- Once the new user has been added, from the Users tab click on the envelope icon to the far right of their profile to have the system generate and send a password creation email to the new user.


