View and use the calendar
This article covers how you can use the calendar to see an overview of the posts that you and the other users you have access to have created as well as how you can create messages directly when viewing the calendar. The calendar will display Scheduled, Sent and Queued posts as well as drafts you've created (if they have a scheduled date) and any messages which have been sent for approval before they're posted.
Note: Not all scheduled posts may appear on the calendar, even if they appear on the scheduled view. This is due to a limit of 500 total posts that will be displayed on the calendar at one time.
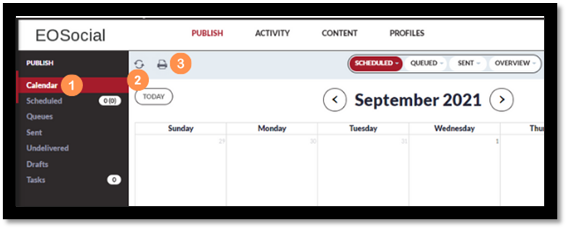
- To access the calendar, select the Publish tab from the top navigation and select calendar from the drop-down. You can also access the Calendar option from the left sidebar when in another area of the Publish section.
- Select the Refresh option to refresh the calendar if a message isn’t being displayed.
- The Print option allows you to print the calendar view in a print-friendly format. Using this option, you can also save the calendar as a PDF using the "Save as PDF" option when selecting a printer. This is a great way to be able to show clients the posts that you've created for them for a campaign or similar.
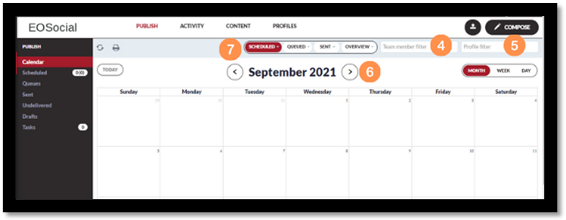
- Use the Filter option to select other members in your User Group so that you can view their Scheduled messages alongside yours.
Tip: Please see Figure 14 for more information on this.
- You can also use the Channel Filter to view messages scheduled to be sent to just a specific Profile or List.
- Use the arrows on either side of the date displayed at the top of the calendar to move forward or backwards in the calendar.
- Select to view either Scheduled, Queued or Sent messages. If you select to view messages in a Queue, you’ll need to select the relevant Queue you want to view messages for.
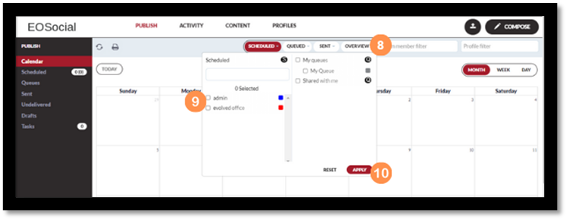
- The Overview option allows users to select both Scheduled messages for multiple users and also messages in Queues at the same time.
- You can search for a specific user account you want to see the Scheduled messages for using the search option.
- When you’ve ticked the boxes opposite the user accounts you wish to view scheduled messages for and any Queues you also want to see messages for, select the Apply option and then messages will be displayed in the calendar accordingly.
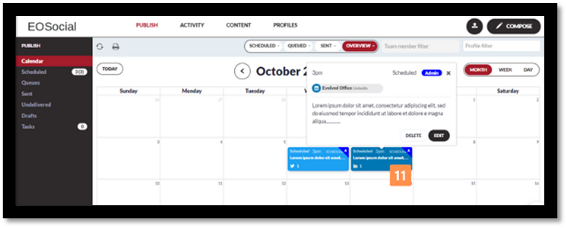
- You can move the message in the calendar to change its scheduled time or to view more information about a scheduled message if, for example, you’re viewing messages in the monthly format, click the message for a pop-up to be displayed. You can also edit a message by clicking the Edit button.
Tip: You can’t click and move messages to a different day if the message is set to repeat.
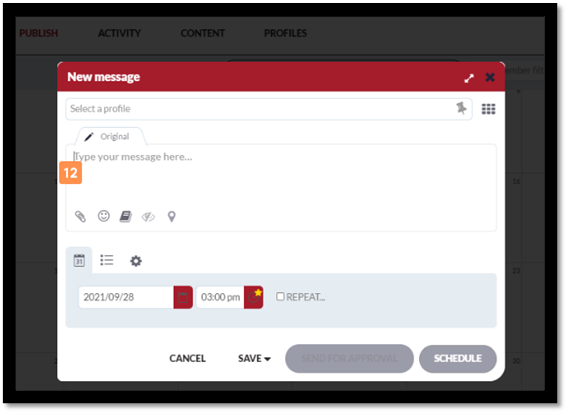
- Clicking on an empty slot in the calendar when viewing Scheduled or Queued messages will prompt the Compose box to be displayed so that you can schedule a message for that day.
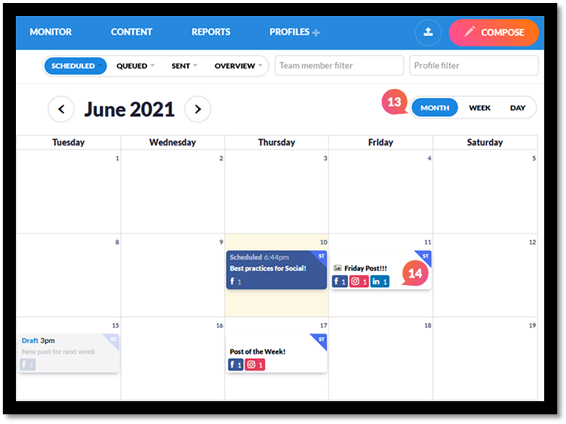
- You can also select to view messages by Month, Week or Day which is useful for focusing on posts scheduled or Queued for a specific week or day.
- When filtering by users, the border colour and initials corner will change according to the account colour set on their user settings (In this case the account colour is blue) and their account initials.
Message colours are based on the colour of the social network, blue Facebook, red for Instagram and etc.
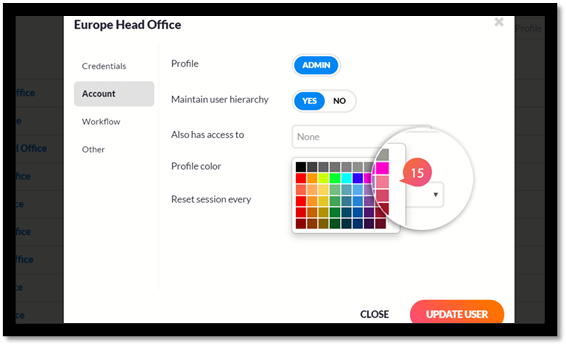
- You can set different colors for each user under Settings > Users > Edit > Account. This will need to be set or changed by an Admin.
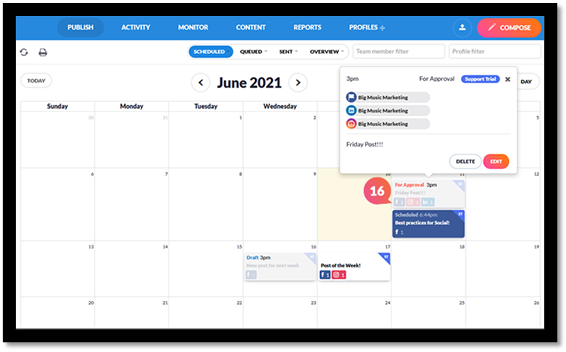
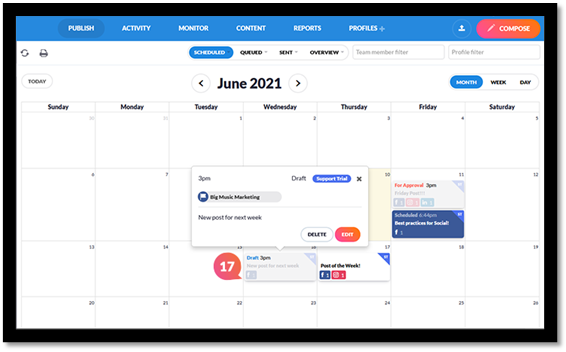
- Posts sent for approval are displayed in greyed-out view with the title “For Approval”. By clicking on the post, you can either delete it or edit and schedule/send it back for approval. If the post looks great and you decided to schedule it, the post-it will display normally as scheduled.
- Drafted posts alongside Post sent for approval (figure 16), will be displayed as greyed-out with the title “Draft”. By clicking on the drafted posts you can delete the message or edit and schedule it!