
Create a custom report
EOSocial offers a number of modules that can be used to build custom reports to help you assemble the analytics that demonstrate your value to your clients and team members.
There are two ways you can build a custom report. Depending on your needs, you can either use the Report Builder to create a custom report from scratch, or you can save a copy of a Quick Report and use that as a jumping-off point to add your customizations.
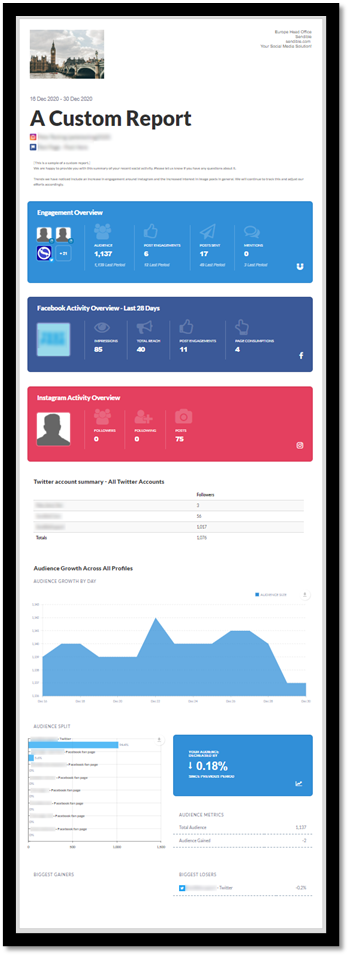
Example custom report
Start with the Report Builder
1. From the Reports section of the dashboard, click on the Report Builder option. This will create a blank report for you to put together module by module.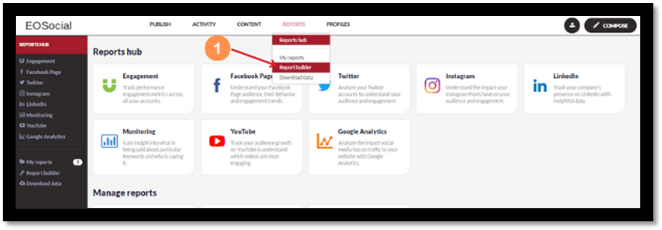
2. Give your report a name. This is a name that will only be used for your own reference within EOSocial.
3. Give your report a title. This will be displayed on the report and included on the cover page. Click the Select Layout button.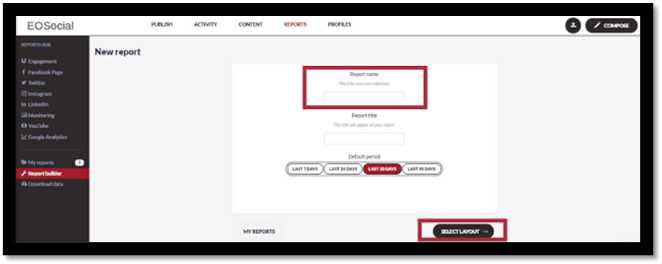
4. Choose the layout for your report. We recommend that you use the 1-column layout. Click the Create Report button.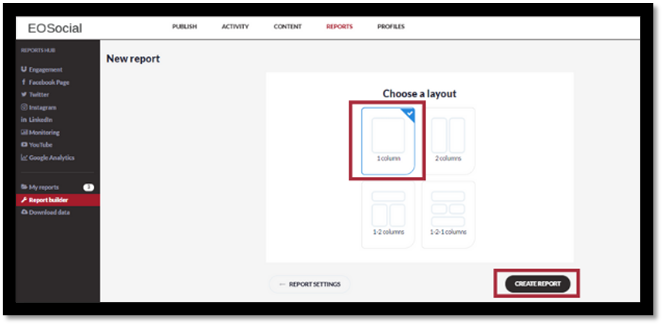
5. You will then be presented with the Add modules dialogue box where you can choose the modules that you want to be included in your report.
6. You can find your new report in the My Reports section of the Reports Hub.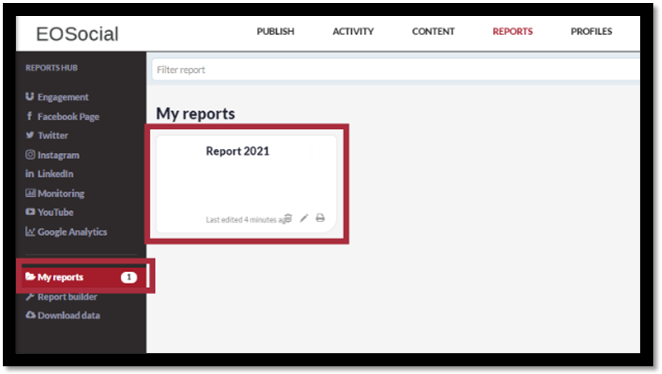
Start with a copy of a Quick Report
7. The Engagement, Facebook, Twitter, and other reports shown in the top section of the Reports Hub are the Quick Reports.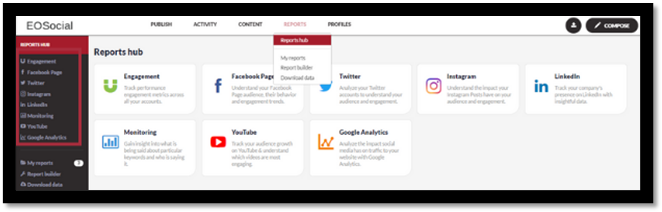
8. Choose the Quick Report that is closest to what you want for your custom report, in this example the LinkedIn Company Report, and then click on the Save button in the top right corner.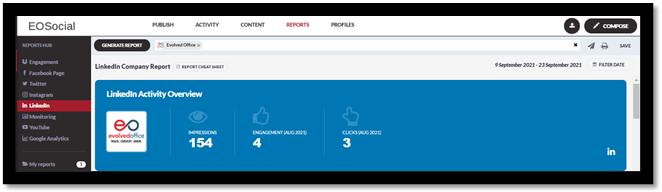
Note: If more than one social profile is used when saving the copy of the Quick Report and you want to edit individual modules later (add or remove a profile), you would need to create the module from scratch and delete the existing module.
9. Give your new report a name, and then click the Save & Edit in Report Builder button.
10. You will be taken to the Report Builder screen where you can add and remove modules to create your custom report.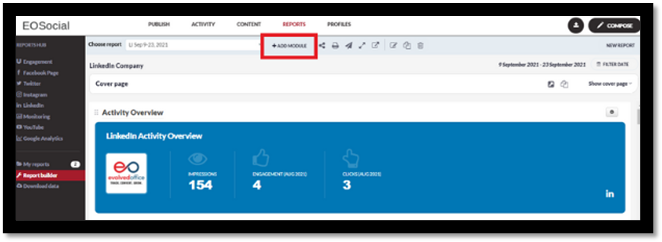
11. You may want to begin by removing any sections (modules) that you do not want to be included in your custom report. To do so, click the gear icon at the top right corner of the section and select Remove.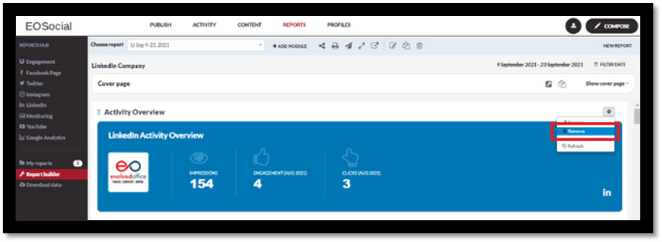
12. You can find your new report in the My Reports section of the Reports Hub.
Customizing your report
There are a wide variety of options to choose from to customize your report. Not only can you add modules of data and analytics from your social profiles and campaigns, but you can also add subheadings, text, and images to your report to make it easier to understand for your clients. And you can change the title of each section to use wording that works best for you. There is no limit to the number of modules that can be included in your report.
Note: Changes made to your custom report are saved as you work. There is no Save button that needs to be clicked.
Creating a cover page for your custom report
A cover page can automatically be added to your report that includes your name, business name, email address, phone number, and other contact information.
13. You can change what information appears on your cover page if you so choose. A rich text editor allows you to get creative if you'd like.
14. You can also upload a logo that will be included at the top of the custom report.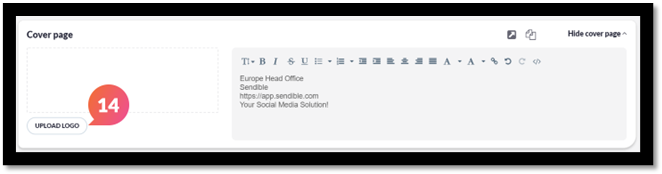
Note: The cover page module will appear at the top of your report and cannot be moved. You can, however, choose to hide it.
Add a module to your report
15. Click the Add Module button and then choose from the options available.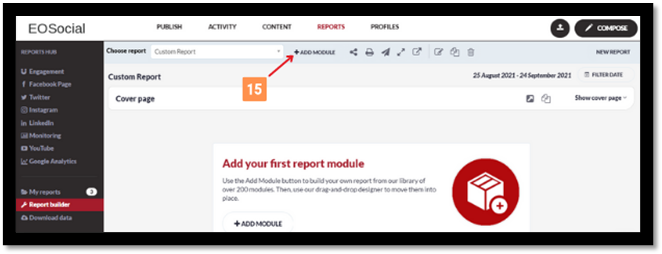
16. You can browse the tabs in the dialogue box or search for something in particular. When you have found the desired module, add it to your report by clicking the "+" icon at the right. You can then drag-and-drop it to move it where you would like if needed.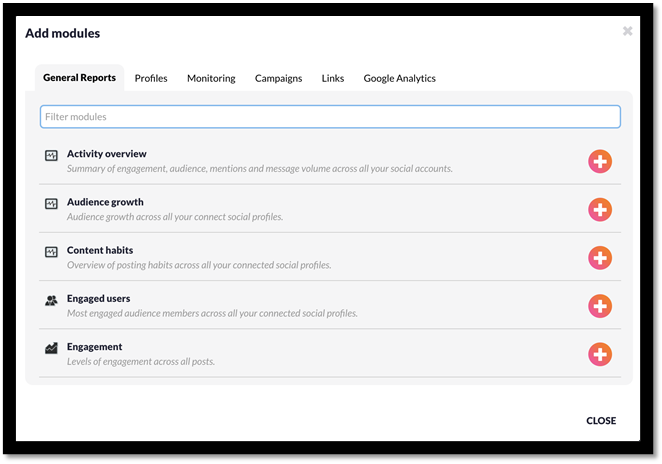
Change the title of a module
17. Click anywhere on the title to select the text and type in what you want.
Add a subheading to your report
18. Click on the Add Module button and search for "subheading" or “text” and then select Subheading from the results.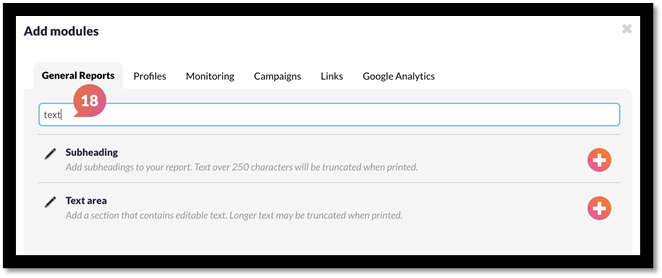
In the Report Builder, a Subheading will appear like this:
In the report, a Subheading will appear like this:
Add a text box to your report
19. Click on the Add Module button and search for “text” and then select Text Area from the results. Text Areas can be useful to add notes around the data that is being presented in the report.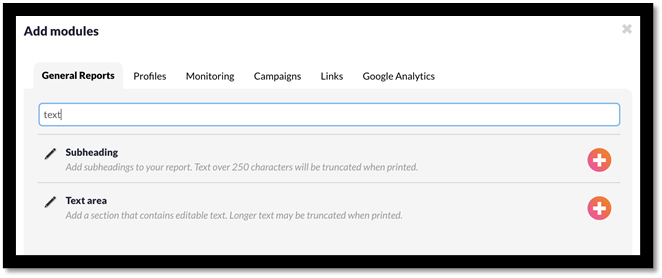
Note: Only the text will appear in the report; the title only appears in the Report Builder editing screen.
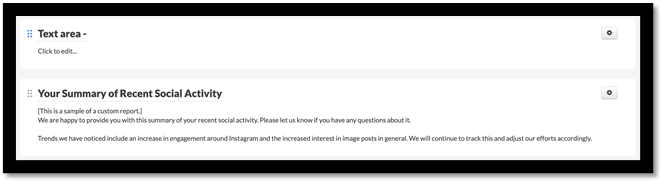
In the Report Builder, a Text Area will appear like this:
In the report, a Text Area will appear like this: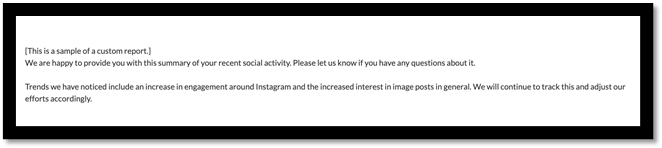
Sharing your custom report
There are several ways you can share your custom report.
20. Share: you can share it with other users within EOSocial. It will then appear on their “My Reports” list. The top right corner will have the initials of the dashboard that shared this report.
21. Print: You can print the report, including saving it as a PDF.
22. Email: You can email the report, including either a one time email or setting up a recurring email with updated data.
23. URL: You can preview the report in your browser and share a URL that allows others to do the same.