
Managing Product Visibility in Your Product Library (I-Frame Version)
If you are using the Product Library I-Frame on your website, you can control exactly which products appear to your visitors. This includes both standard items added by Evolved Office (Admin Products) and custom items added by your team (My Products).
This guide covers:
- Enabling and disabling individual products
- Managing Active vs. Inactive products
- Performing mass activation and mass deactivation
- Understanding Admin Products vs. My Products
- Linking out to the article on how to add custom products
Understanding the Two Product Types
1. Admin Products
- These are products added by Evolved Office on the backend.
- Includes major OEM lines such as Canon, HP, Sharp, Toshiba, Epson, Lexmark, and others.
- You cannot edit or delete Admin Products, but you can control whether they appear in your I-Frame.
2. My Products
- These are items you manually add (e.g., specialty products, accessories, unique brands, or custom service items).
- You have full control over visibility and content.
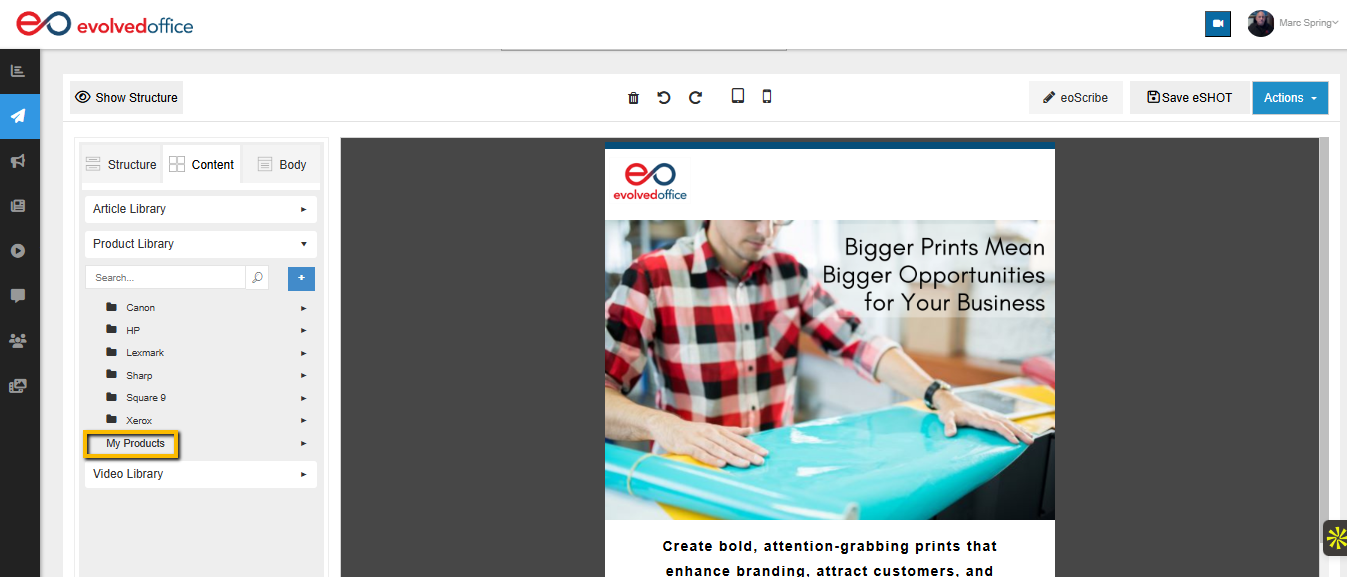
- Once added, they appear in:
- The I-Frame Product Library embedded on your website
- The “My Products” folder inside your EO Email Editor (see image below)
Need help adding products under "My Products"?
👉 See our article: Adding Products to the Product Library
How to Manage Product Visibility
Step 1: Go to Your Product Library Settings
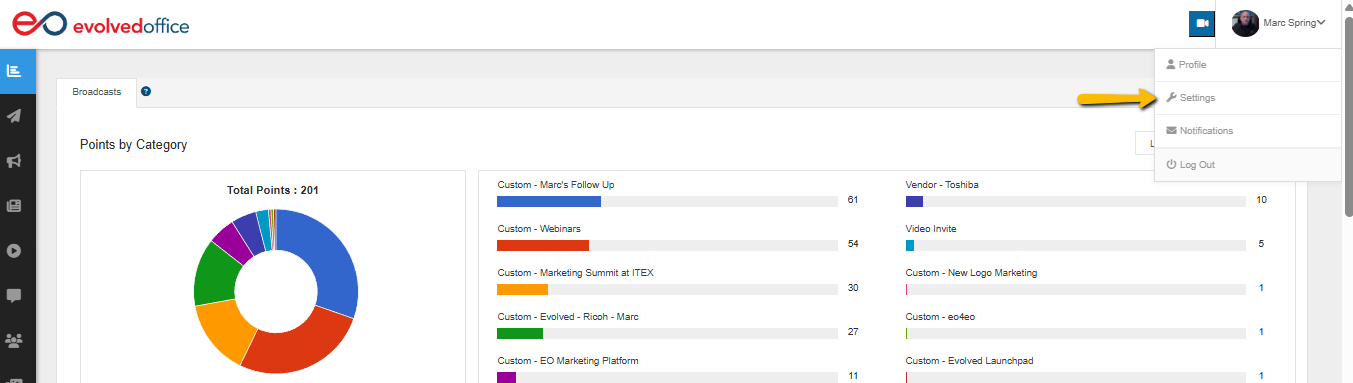
- Log in to your Evolved Office account.
- Click your profile icon (top right).
- Choose Settings.
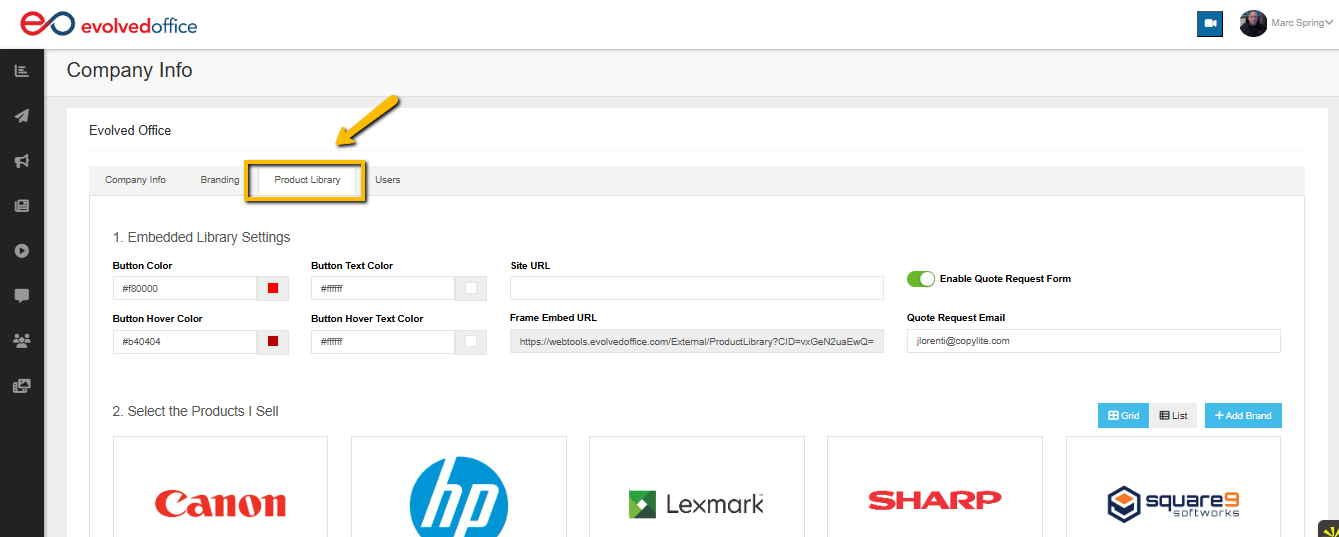
- Select the Product Library tab.
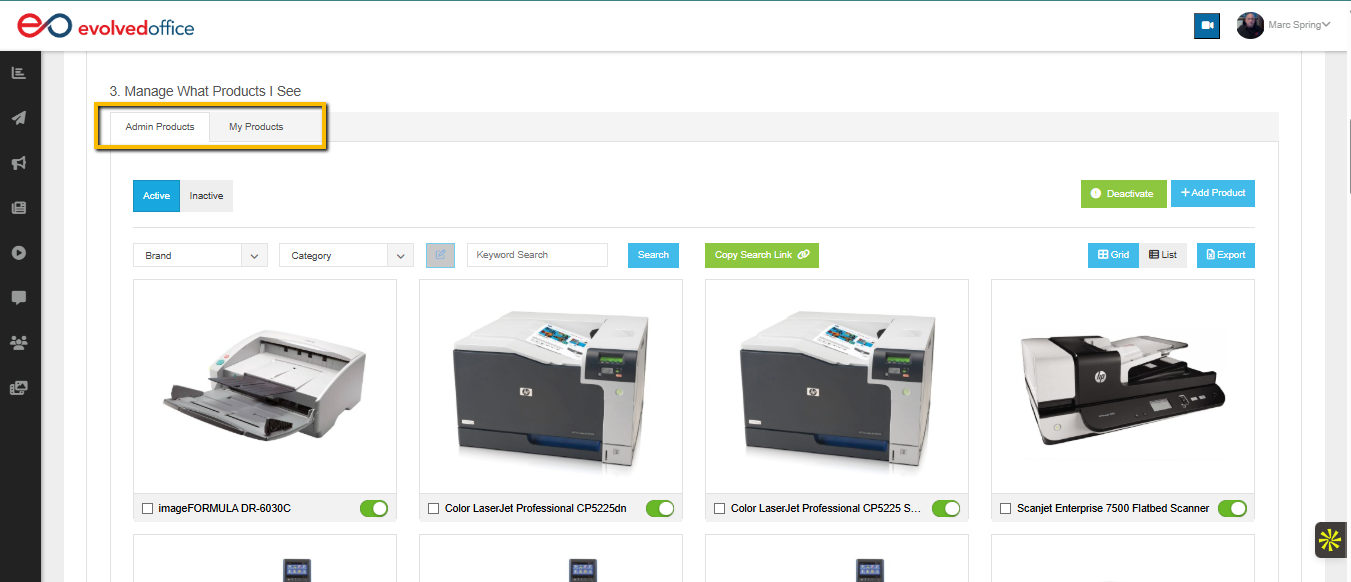
Step 2: Open “Manage What Products I See”
Scroll to Section 3: Manage What Products I See.
You will see two tabs:
- Admin Products
- My Products
Visibility actions are the same in both.
Managing Individual Products
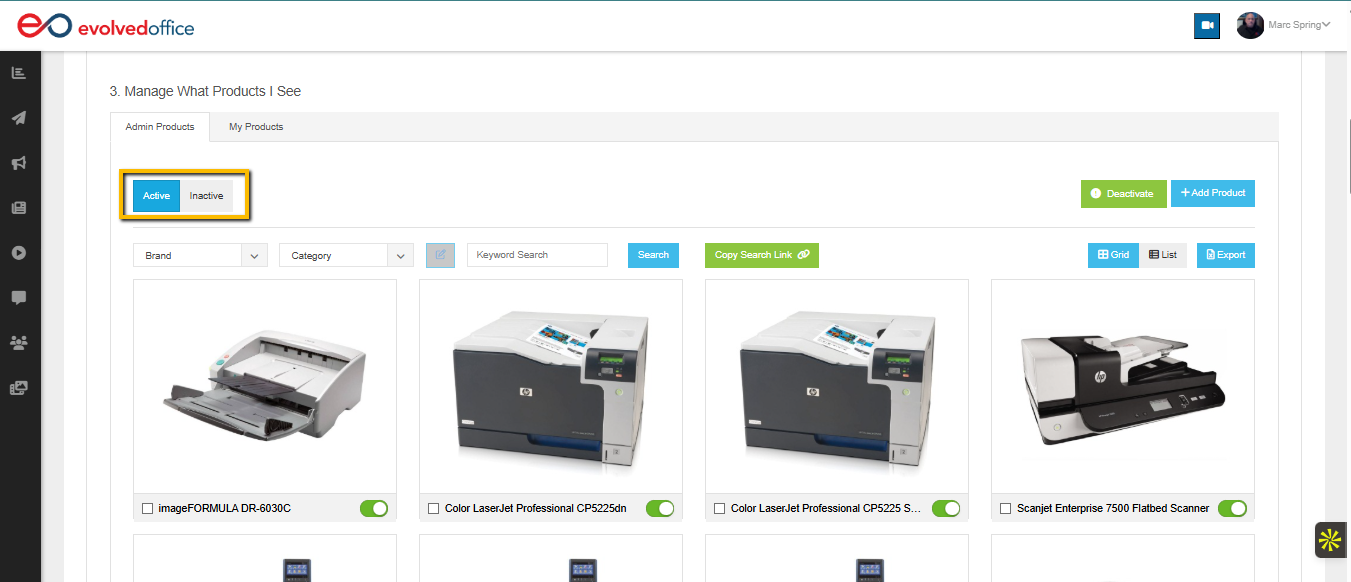
Step 3: Select Active or Inactive Products
- Active Tab: Shows products currently displayed on your website.
- Inactive Tab: Shows products currently hidden from your website.
Switch between these as needed to manage visibility.
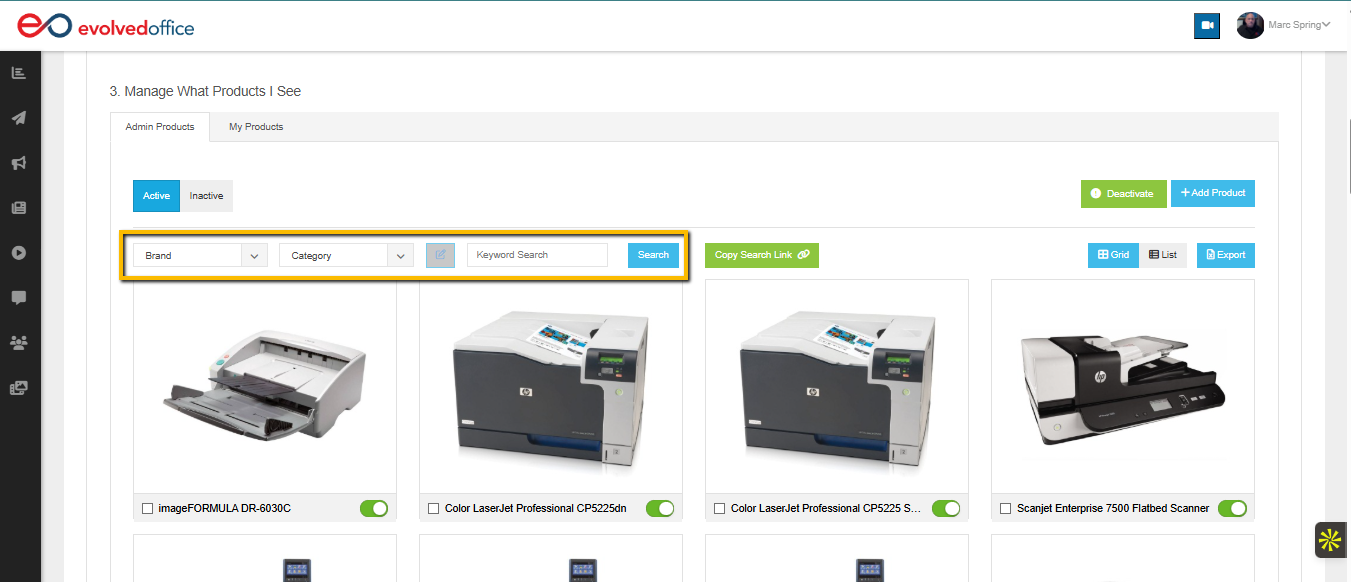
Step 4: Use Filters to Quickly Find What You Need
You may filter by:
- Brand
- Category
- Keyword Search
This is especially useful when managing large lists.
Step 5: Enable/Disable Products Individually
Each product has a toggle under the Status column:
- Green toggle = Enabled (visible on your website)
- Gray toggle = Disabled (hidden from your website)
Clicking the toggle updates the Product Library I-Frame instantly.

Mass Activation & Mass Deactivation
(Bulk Updating Product Visibility)
If you need to update multiple products at once, EO allows fast bulk actions under both product states.
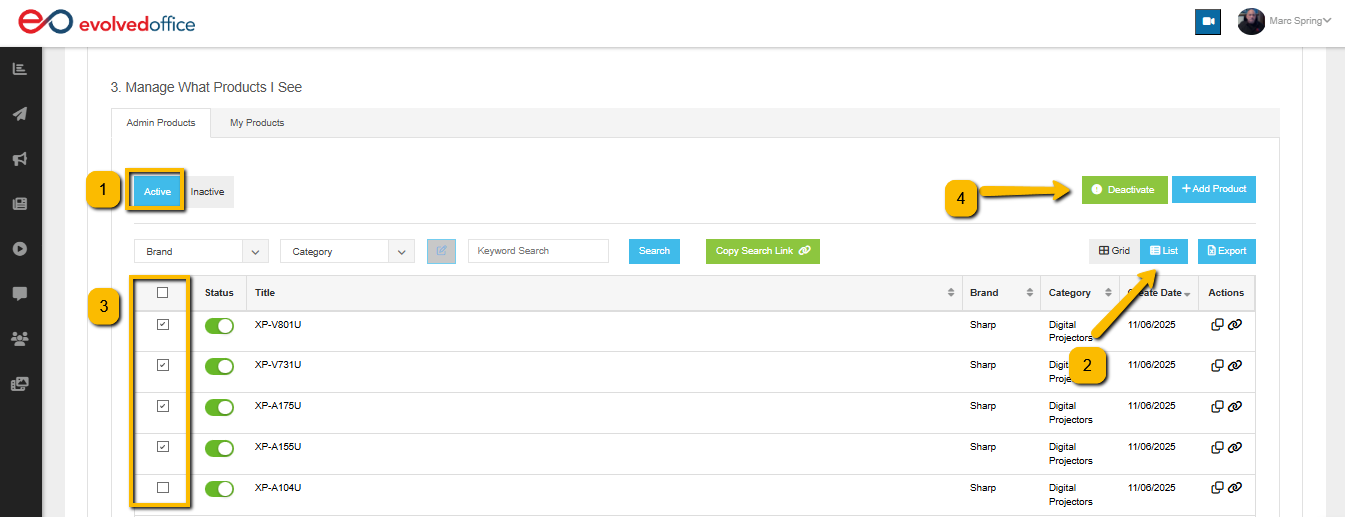
🔴 MASS DEACTIVATION (From the Active Tab)
Use this when you want to hide multiple products at once.
Steps:
- Go to Active.
- Switch to "List" view.
- Select the checkbox beside each product you want to hide.
- Click the green Deactivate button (top right corner of the table).
All selected products will be moved to the Inactive tab and removed from your website instantly.
🟢 MASS ACTIVATION (From the Inactive Tab)
Use this when you want to show multiple products at once.
Steps:
- Go to Inactive.
- Switch to "List" view.
- Select the checkbox next to each product you want to activate.
- Click the green Activate button (top right corner on the table).
All selected products will move back to Active and will appear on your website immediately.
Helpful Notes:
- If no products are selected, you will see a message:
“Please select at least one record.” - Bulk actions work for Admin Products and My Products.
- Bulk changes update your live I-Frame in real time—no need to re-embed anything.
Summary Overview
| Feature | Admin Products | My Products |
|---|---|---|
| Added by | Evolved Office | You / your team |
| Editable | Visibility only | Full control |
| Can enable/disable | Yes | Yes |
| Affects I-Frame instantly | Yes | Yes |