How to Upload a List of Contacts
Step-by-step guide
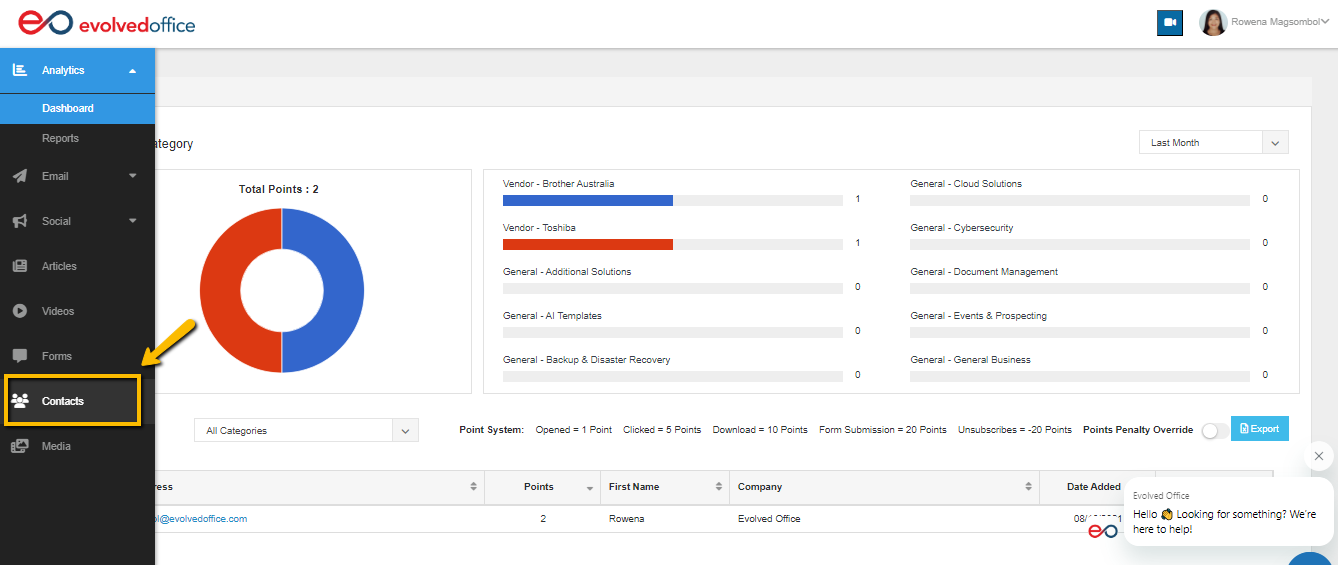
- Log In and Navigate:
Log into your Evolved Office account and go to the "Contacts" tab to see all uploaded contacts.
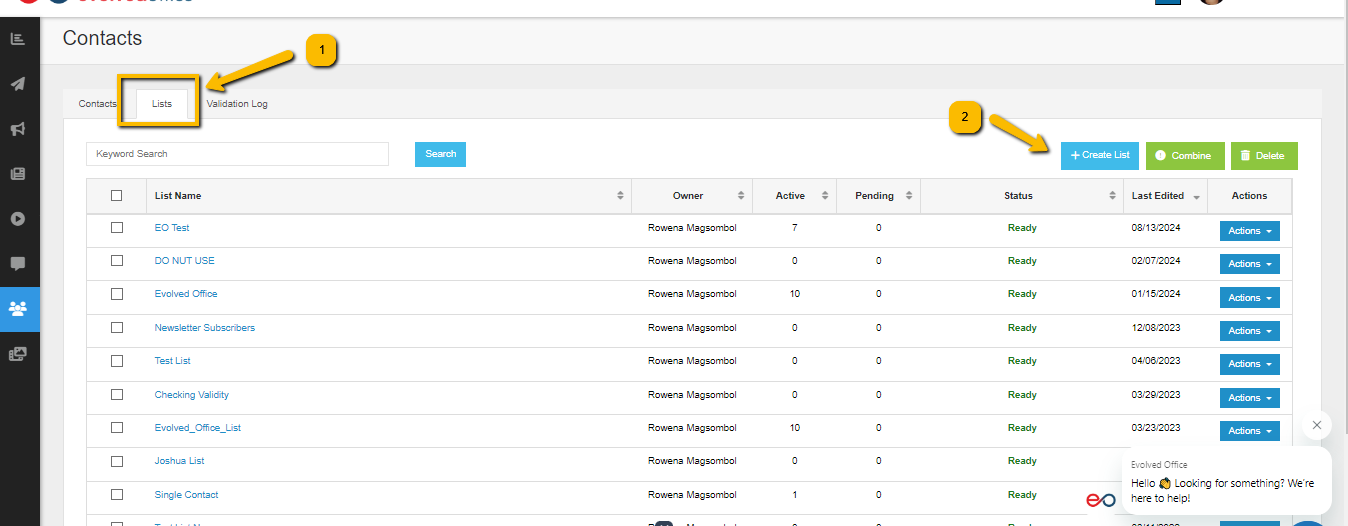
- Create a List:
Under the "List" tab, click "Create List," name it, and hit "Save."
- Prepare Your File:
Export contacts from your CRM or ERP system into a spreadsheet. Ensure the first row contains column headers and save as a .xls, .xlsx, .csv, or .txt file types.
- Upload Contacts:
Choose "Upload Contacts" and select your CSV file. Match your file’s column headers with Evolved Office’s headers through a process called mapping.
- Validation Process:
After mapping, click upload. The contacts will go through a validation process. You will receive an email once validation is complete.
- Broadcast-Ready:
Validated contacts will show a "Ready" status under the "List" tab, meaning they’re ready for broadcasting.