
How to Use and Edit eSHOTs in the Rep Window for AgentDealer x Evolved Office Integration (copy)
Use the Rep Window to select, customize, test, and send an eSHOT to a contact.
The Rep Window is available at the contact level. To open it, go to the contact record and click the Evolved Office tab. This will open the Rep Window for that contact.
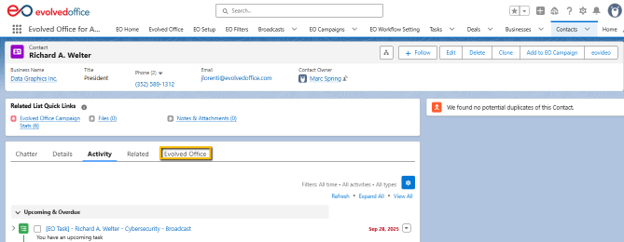
1. Open the eSHOTs tab
Once the Rep Window opens, click the eSHOTs tab.
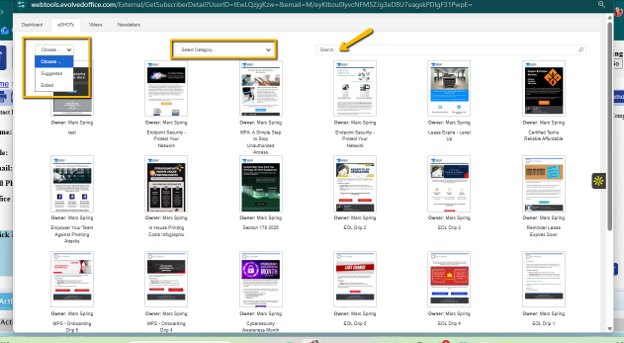
This is where you can view available eSHOTs and select the one you want to send to the contact.
2. Choose the eSHOT you want to send
In the eSHOT library, you can choose from the available eSHOT types:
- Suggested
- Edited
- Shared
You can also narrow down the list by selecting a category from the dropdown or by searching for the eSHOT title in the search bar.
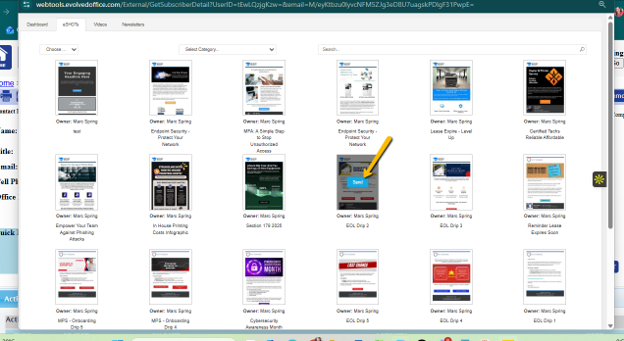
Once you find the eSHOT you want to use, hover over it. A Send button will appear. Click Send to open that eSHOT for editing and sending.
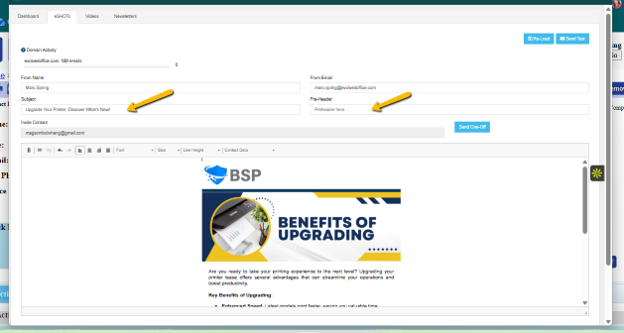
3. Edit the subject line and preheader
After selecting an eSHOT, you can update the Subject Line and Preheader.
The Subject Line is the main email title the recipient will see in their inbox.
The Preheader is the short preview text that appears beside or underneath the subject line in many inboxes.
Make sure both are clear, relevant, and aligned with the message you are sending.
4. Edit the body text
You can edit the main body text of the email using the basic editing tools available in the editor.
You may:
- Update wording
- Add new text
- Remove text
- Bold or adjust text using the toolbar
- Edit bullet points or paragraphs
- Add placeholders using the Contact Data dropdown
- Placeholders allow you to personalize the eSHOT using contact-specific information. For example, reps can insert details such as Company, First Name, Last Name, Title, or Phone.
- When the eSHOT is sent, the placeholder will pull in the matching information from the contact record.
Keep the message concise, professional, and relevant to the contact.
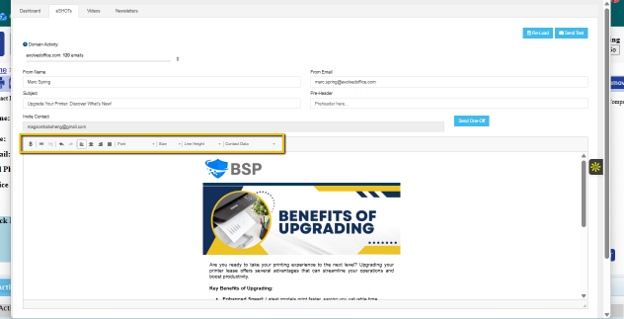
5. Understand what cannot be edited
Reps cannot swap images or delete images within the eSHOT.
The image layout and visual assets are locked to protect the email design and make sure the eSHOT displays correctly.
Reps can only edit the text-based areas of the email.
6. Edit the CTA button text
You can change the text inside the CTA button, but it should be edited carefully.
The best approach is to highlight the existing text inside the CTA button and type the new text directly over it.
Avoid highlighting or selecting too much around the button. If the entire CTA button gets highlighted, the button may be deleted as well. If this happens, press Control + Z to undo the change and bring the button back.
Important CTA button rules
CTA buttons only allow single-line text.
A button can only hold a certain number of characters, depending on how wide the button is. Keep the CTA short and clear.
For example:
- Learn More
- Get Started
- Contact Us
- Schedule a Call
7. Use Control + Z to undo changes
If you make a mistake while editing, press Control + Z.
This will undo your most recent action.
You can use this if you accidentally delete text, remove text styling, or make an unwanted change while editing the eSHOT.
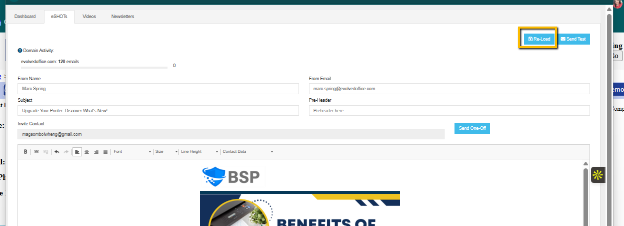
8. Click “Reload” to pick a different eSHOT
Click Reload if you want to go back and choose a different eSHOT from the library.
Use this option when the selected eSHOT is not the right message for the contact or if you want to start again with another template.
9. Click “Send Test” before sending
Before sending the eSHOT to the contact, click Send Test.
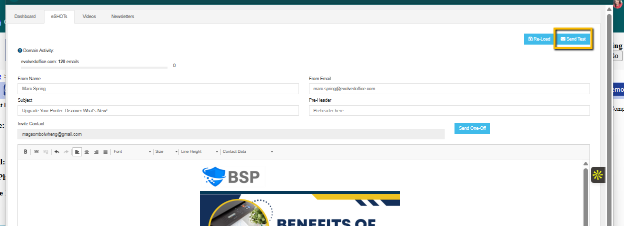
This allows you to see how the email will look when it lands in an inbox.
Make sure everything looks clean, complete, and ready for the recipient.
10. Click “Send One-Off” when ready to send
When you are happy with the email and ready to send it, click Send One-Off.
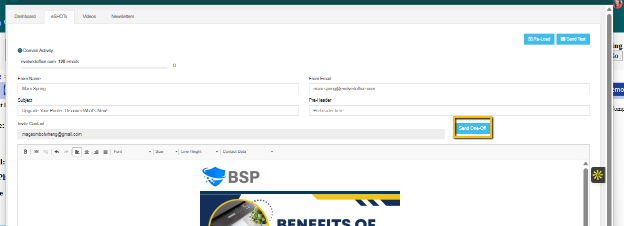
This will send the eSHOT to the selected contact.
Before sending, make sure you have reviewed the content carefully and confirmed that the message is ready to go.