
Using EO Content in eoSocial: Share Ready-to-Go Posts, Edit with AI, or Create New Posts
Table of Contents
- Introduction
- What Changed (Old vs. New Location)
- Where to Find EO Content in eoSocial
- Understand the Content Library View (Suggested vs Edited)
- Option A: Share a Suggested Post Instantly (Schedule as Usual)
- Option B: Edit a Suggested Post (Title/Image + AI Writing + AI Images)
- Option C: Start a Fresh Post from Scratch (Plus Button)
- Best Practices
- Troubleshooting
- Related Articles / Learn More
Introduction
eoSocial includes EO Content, a library of ready-to-go social posts provided by Evolved Office. These suggested posts help you publish consistently without starting from a blank screen.
From EO Content, you can:
- Share instantly (then schedule or post now),
- Edit first (rewrite the copy, refine tone/brand voice, and generate a new image using AI), or
- Start fresh by creating a brand-new post from scratch.
What Changed (Old vs. New Location)
Previously: ready-to-go posts were commonly accessed under Content > My Content.
Now: Evolved Office’s ready-to-go library is accessed from EO CONTENT inside eoSocial.
This updated setup makes it easier to customize:
- Adjust wording to match your company voice
- Add keywords, hashtags, and prompts for better personalization
- Replace or regenerate images using AI within the same workflow
Where to Find EO Content in eoSocial
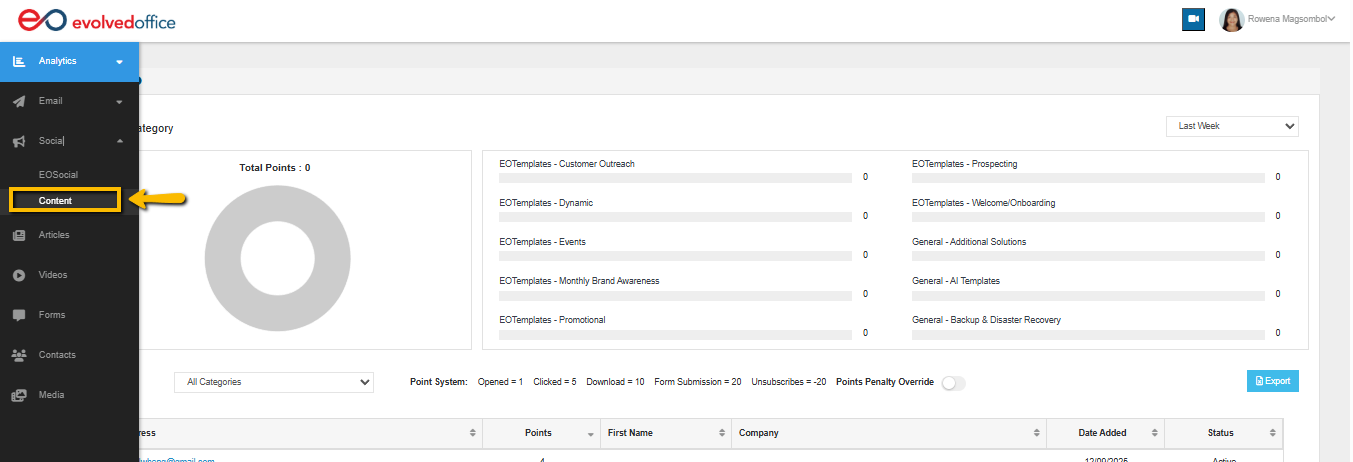
Path 1: From the Social module (left navigation)
- Navigate to Social.
- Click Content.
Path 2: From inside eoSocial (top navigation)
- In eoSocial, click CONTENT in the top menu.
- Click EO CONTENT.
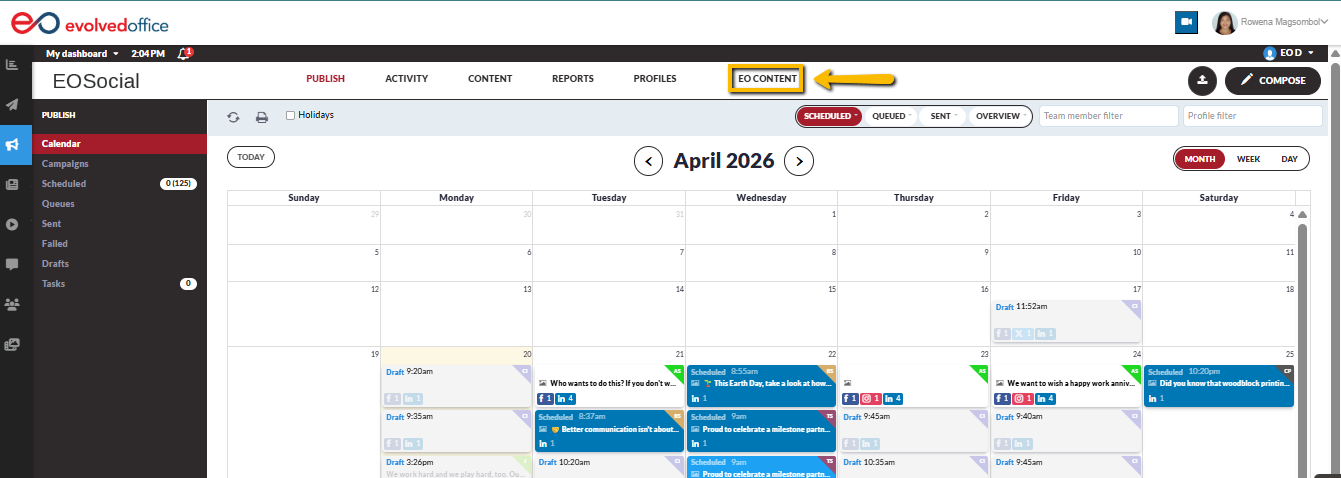
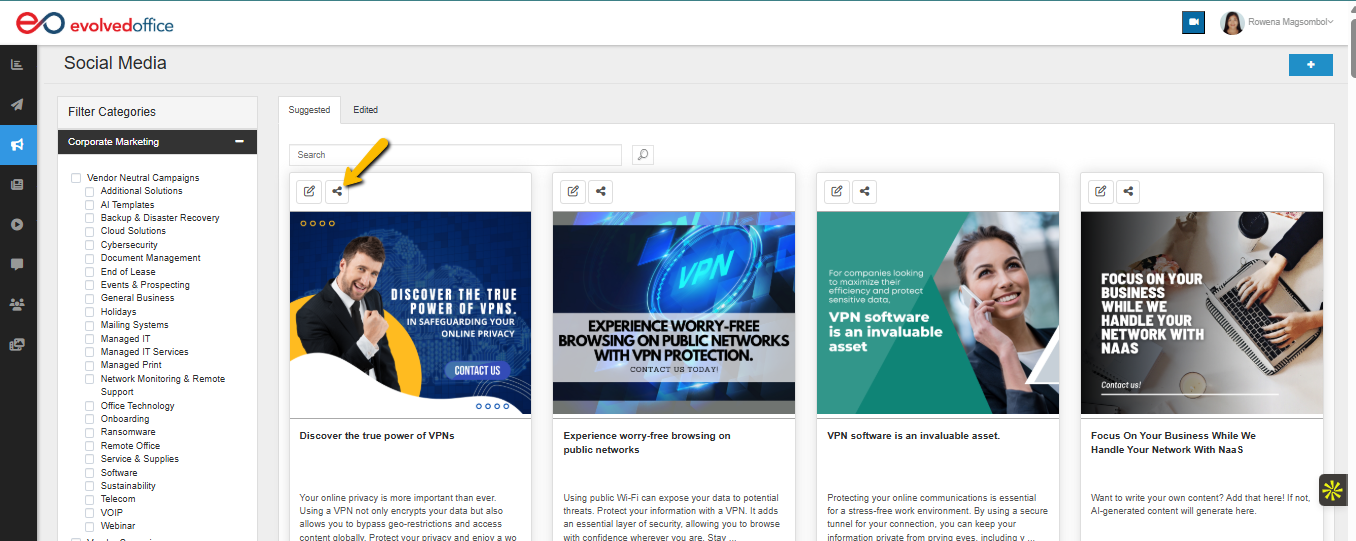
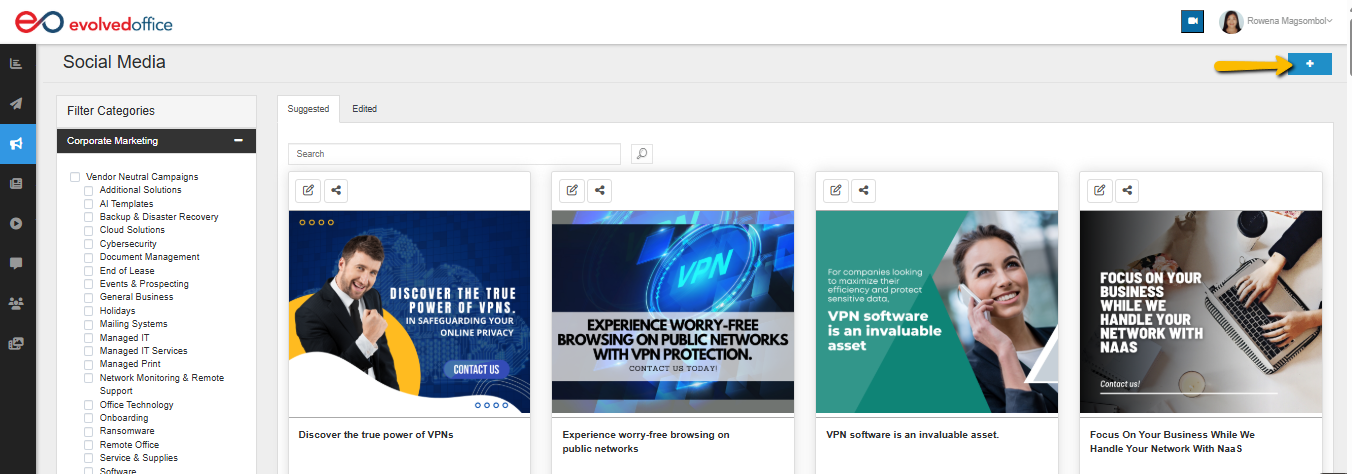
Result: You’ll land on the Social Media library page where suggested post tiles/cards display in a grid.
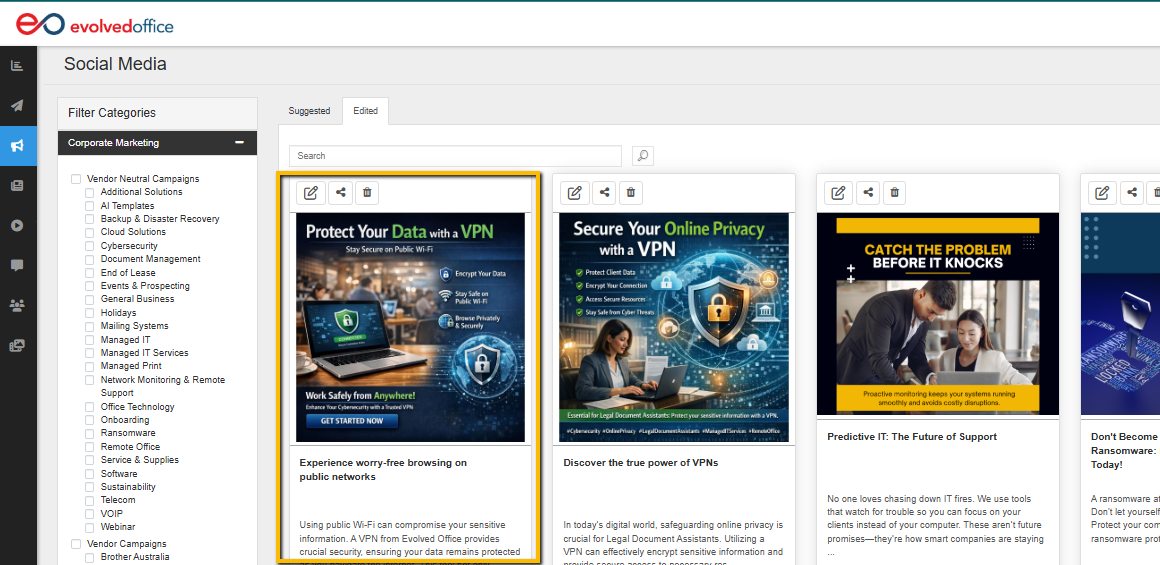
Understand the Content Library View (Suggested vs Edited)
On the Social Media library page, you’ll typically see:
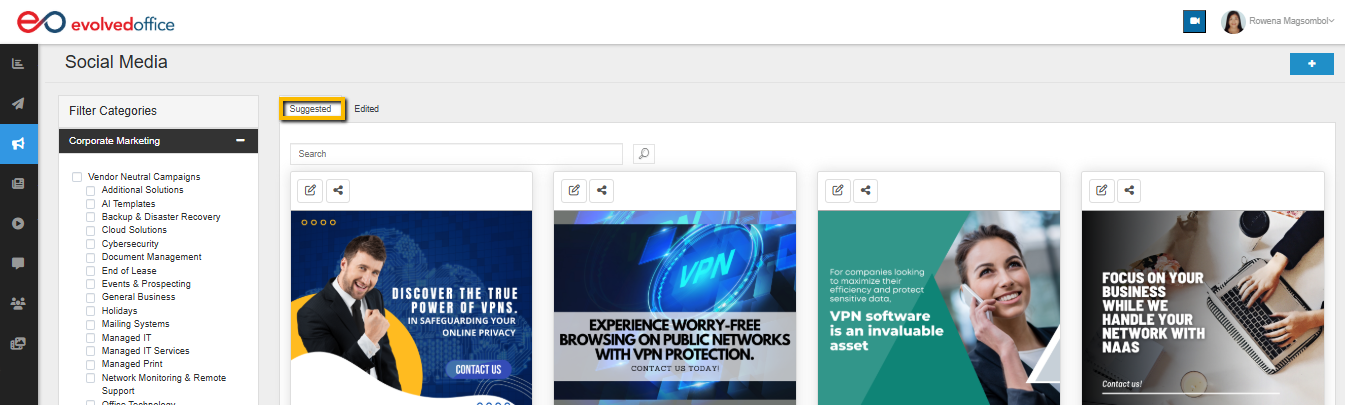
Suggested tab
- Contains Evolved Office-provided ready-to-go posts.
- Each post tile includes quick action icons at the top (commonly Edit and Share, plus other actions depending on permissions).
Edited tab
- Contains posts that were edited from a suggested post and posts you created from scratch.
- If a user updates a suggested post (copy, image, title, etc.), the updated version is expected to appear here so it’s easy to find later.
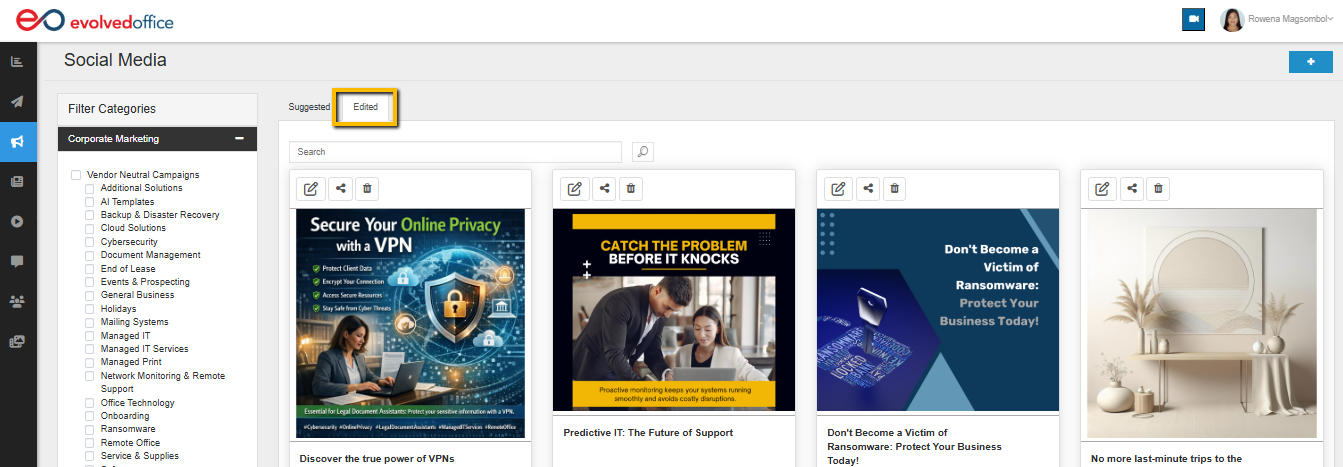
Tip: Use Edited when you want to reuse or review posts you’ve already personalized.
Option A: Share a Suggested Post Instantly (Schedule as Usual)
Use this option when the post is already a good fit and you simply want to publish or schedule it.
- In EO CONTENT > Suggested, locate the post you want to use.
- Click the Share icon on the post tile.
- When the scheduling/share pop-up opens:
- Select the social profiles you want to post to.
- Choose your posting method:
- Send Now (post immediately), or
- Schedule (choose a date/time)
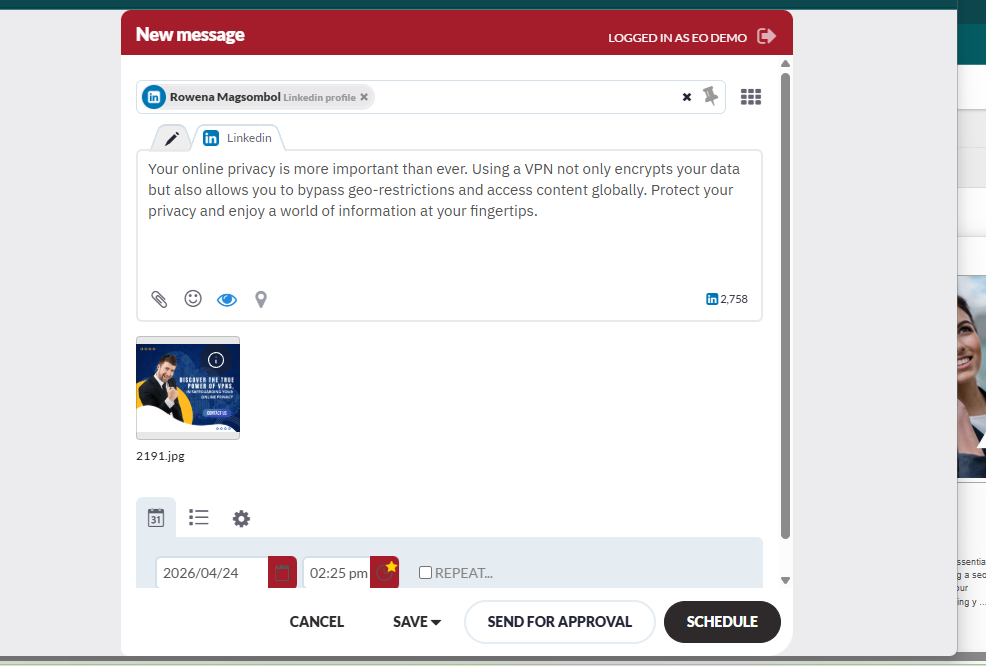
What happens next:
The post moves through the same scheduling flow you already use for eoSocial posting.
Option B: Edit a Suggested Post (Title/Image + AI Writing + AI Images)
Use this option when you want to make the post sound like your business or refresh the image.
Step 1: Open the post editor
- In EO CONTENT > Suggested, locate the post you want to customize.
- Click the Edit icon on the post tile.

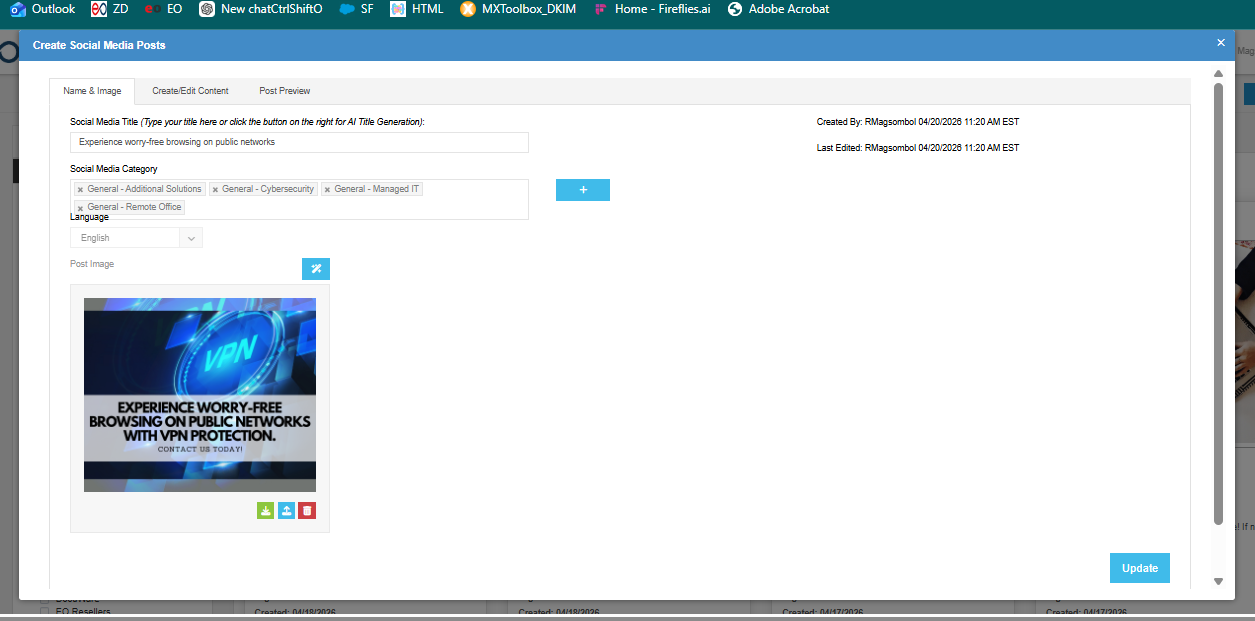
A modal opens titled Create Social Media Posts with tabs such as:
- Name & Image
- Create/Edit Content
- Post Preview
Step 2: Update basics in Name & Image
Use this tab to confirm or change the post’s identifying details.
- In Social Media Title, enter or confirm the title.
- In Social Media Category, review or adjust category tags.
- In Language, confirm the language (example shown: English).
- Under Post Image, review the current image.
- Click Update (bottom-right).
Important:
- Update applies changes made on Name & Image (title/category/language/image selection).
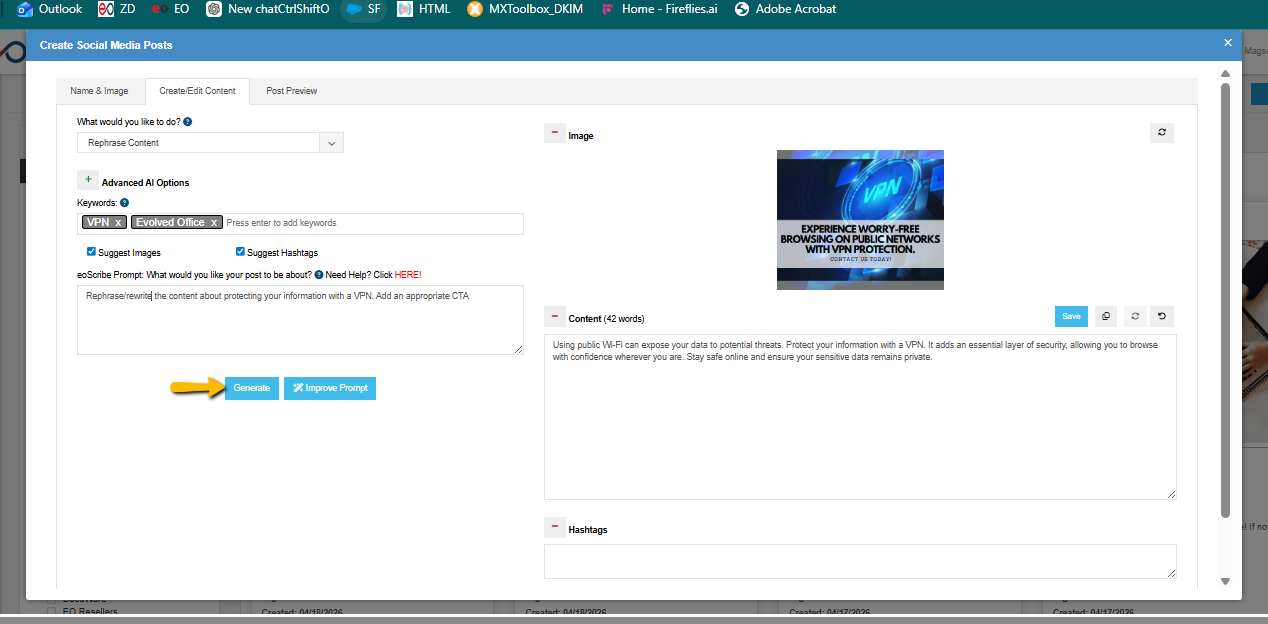
Step 3: Rewrite content in Create/Edit Content
Use this tab to generate or refine the copy (and optionally suggest images/hashtags).
3A. Choose what you want to do
- Under What would you like to do?, select one:
- Generate New Content
- Rephrase Content
- Summarize Content
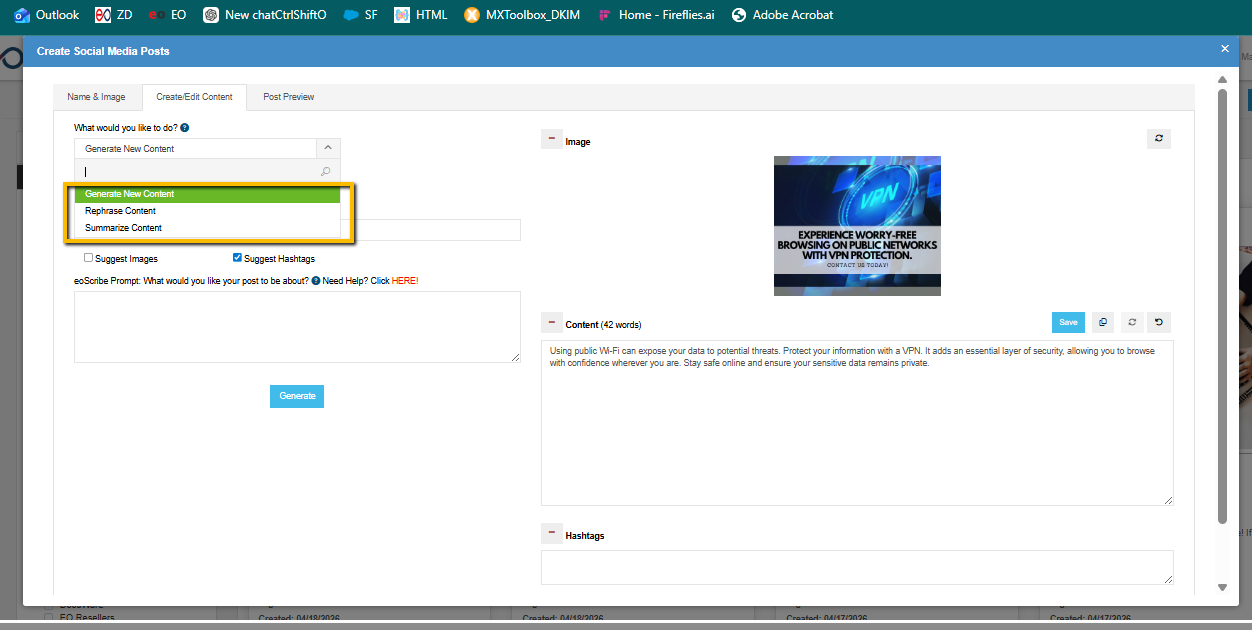
3B. Add guidance for stronger output
- In Keywords, type keywords and press Enter to add them.
- (Optional) Select:
- Suggest Images
- Suggest Hashtags
- In eoScribe Prompt, enter a clear prompt (topic + audience + CTA).
- Click Generate.
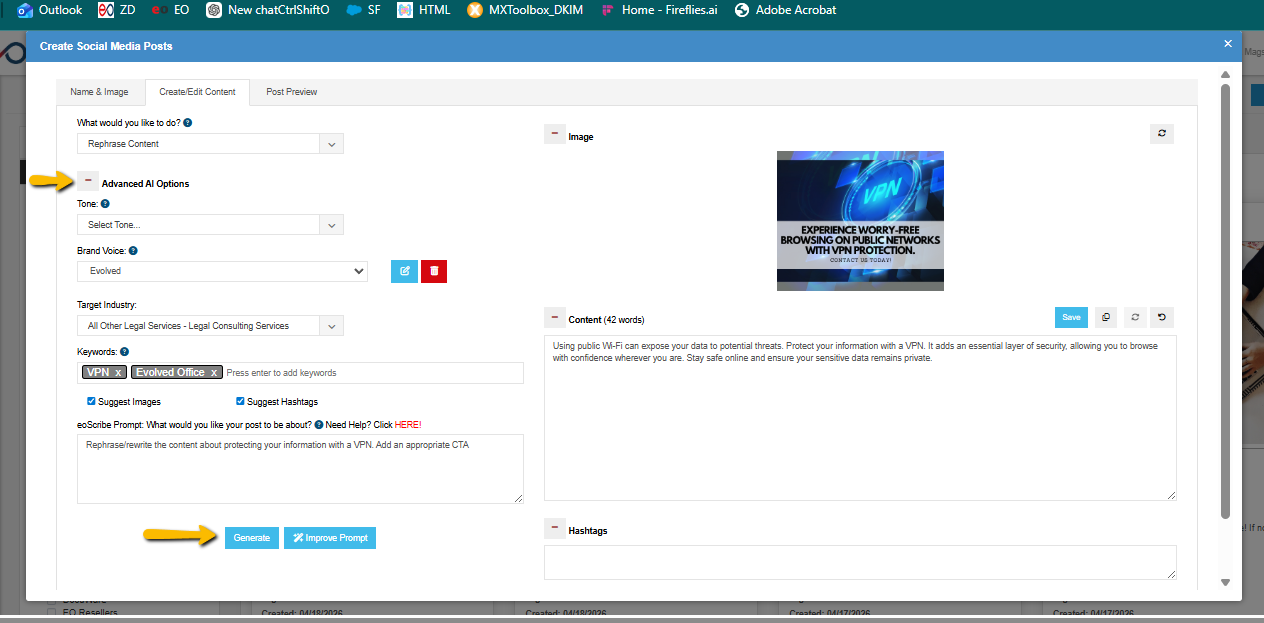
Step 4: Use Advanced AI Options (optional, recommended for brand consistency)
- Expand Advanced AI Options.
- Configure any of the following:
- Tone: Select a tone (e.g., informative, professional, friendly)
- Brand Voice: Select a saved brand voice
- Add a Brand Voice: Add a new voice style if available
- Target Industry: Select an industry for more relevant wording
- Click Generate.
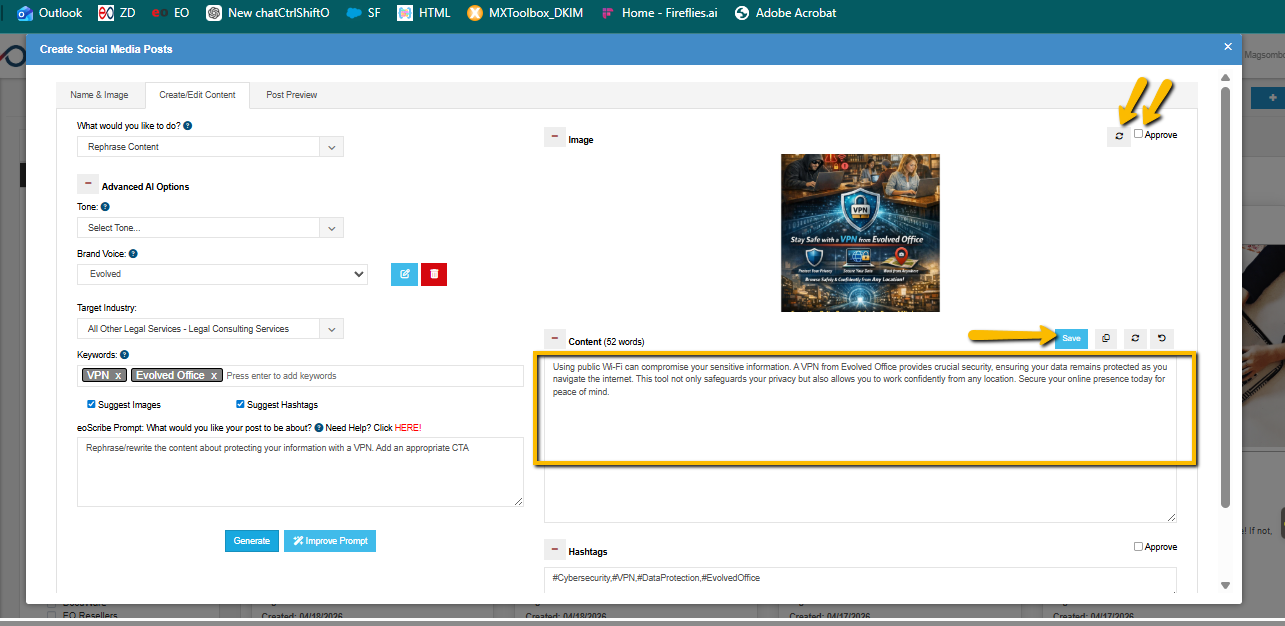
Step 5: Approve or regenerate the image
On the right side, review the image preview.
- If you like the image, check Approve.
- If you want a different option, click the Regenerate image icon (refresh icon), then review again.
Important:
- Approve confirms the image choice you want to keep.
- Regenerate only changes the image option—approve the final selection before saving.
Step 6: Save your final copy
- Review the Content box and make any edits.
- Review and clean up the Hashtags field (remove irrelevant tags, keep brand-relevant ones).
- Click Save to store the content version.
Save vs Update (commonly confused)
- Update = saves changes on Name & Image
- Save = saves changes on Create/Edit Content (copy/hashtags)
Step 7: Find your updated post in the Edited tab
After editing:
- Return to the Social Media library page.
- Click the Edited tab.
- Locate your updated post there for reuse, sharing, or scheduling.
Option C: Start a Fresh Post from Scratch (Plus Button)
Use this option when you want to create a brand-new post (not based on a suggested tile).
- On the Social Media library page, click the Plus (+) button in the top-right.
- Complete the same workflow in the Create Social Media Posts modal:
- Name & Image (title, category, image)
- Create/Edit Content (generate or write your content, optionally with AI)
- Post Preview (final review)
- Save your post.
Where it appears:
Newly created posts are stored under the Edited tab so you can easily find them again.
Best Practices
- Use Suggested posts for speed; use Edited posts for consistency. Suggested gets you started fast; Edited becomes your reusable library.
- Standardize Brand Voice settings so multiple users create content that sounds like one company.
- Keep keywords short and service-focused (e.g., “Managed IT,” “Cybersecurity,” “Remote Work”).
- Approve images only when final to avoid saving a draft image you didn’t intend to keep.
- Treat hashtags as a final polish step—remove generic or irrelevant ones.
Troubleshooting
I don’t see EO CONTENT
- Confirm you’re in eoSocial > CONTENT (top navigation inside eoSocial).
- If EO CONTENT is missing, it may be permissions-based—check with your account admin.
My changes didn’t stick
- If you changed title/category/image on Name & Image, be sure you clicked Update.
- If you rewrote text on Create/Edit Content, be sure you clicked Save.
The image isn’t changing
- If you regenerated an image, ensure you selected Approve for the final version you want.
- If the previous image persists, regenerate again and approve the new selection.
I can’t find my edited post.
- Check the Edited tab (edited and newly created posts are stored there).
- Confirm you clicked Save after generating content.
My title/category changes didn’t apply.
- Go back to Name & Image and confirm you clicked Update (not just Save).
Share opened a pop-up but I don’t see scheduling.
- Ensure you’re using the Share/scheduling pop-up flow (select profiles first; scheduling options usually appear after profile selection).
Related Articles / Learn More
- How to Schedule Social Media Posts Using eoSocial